Aerial Chrome
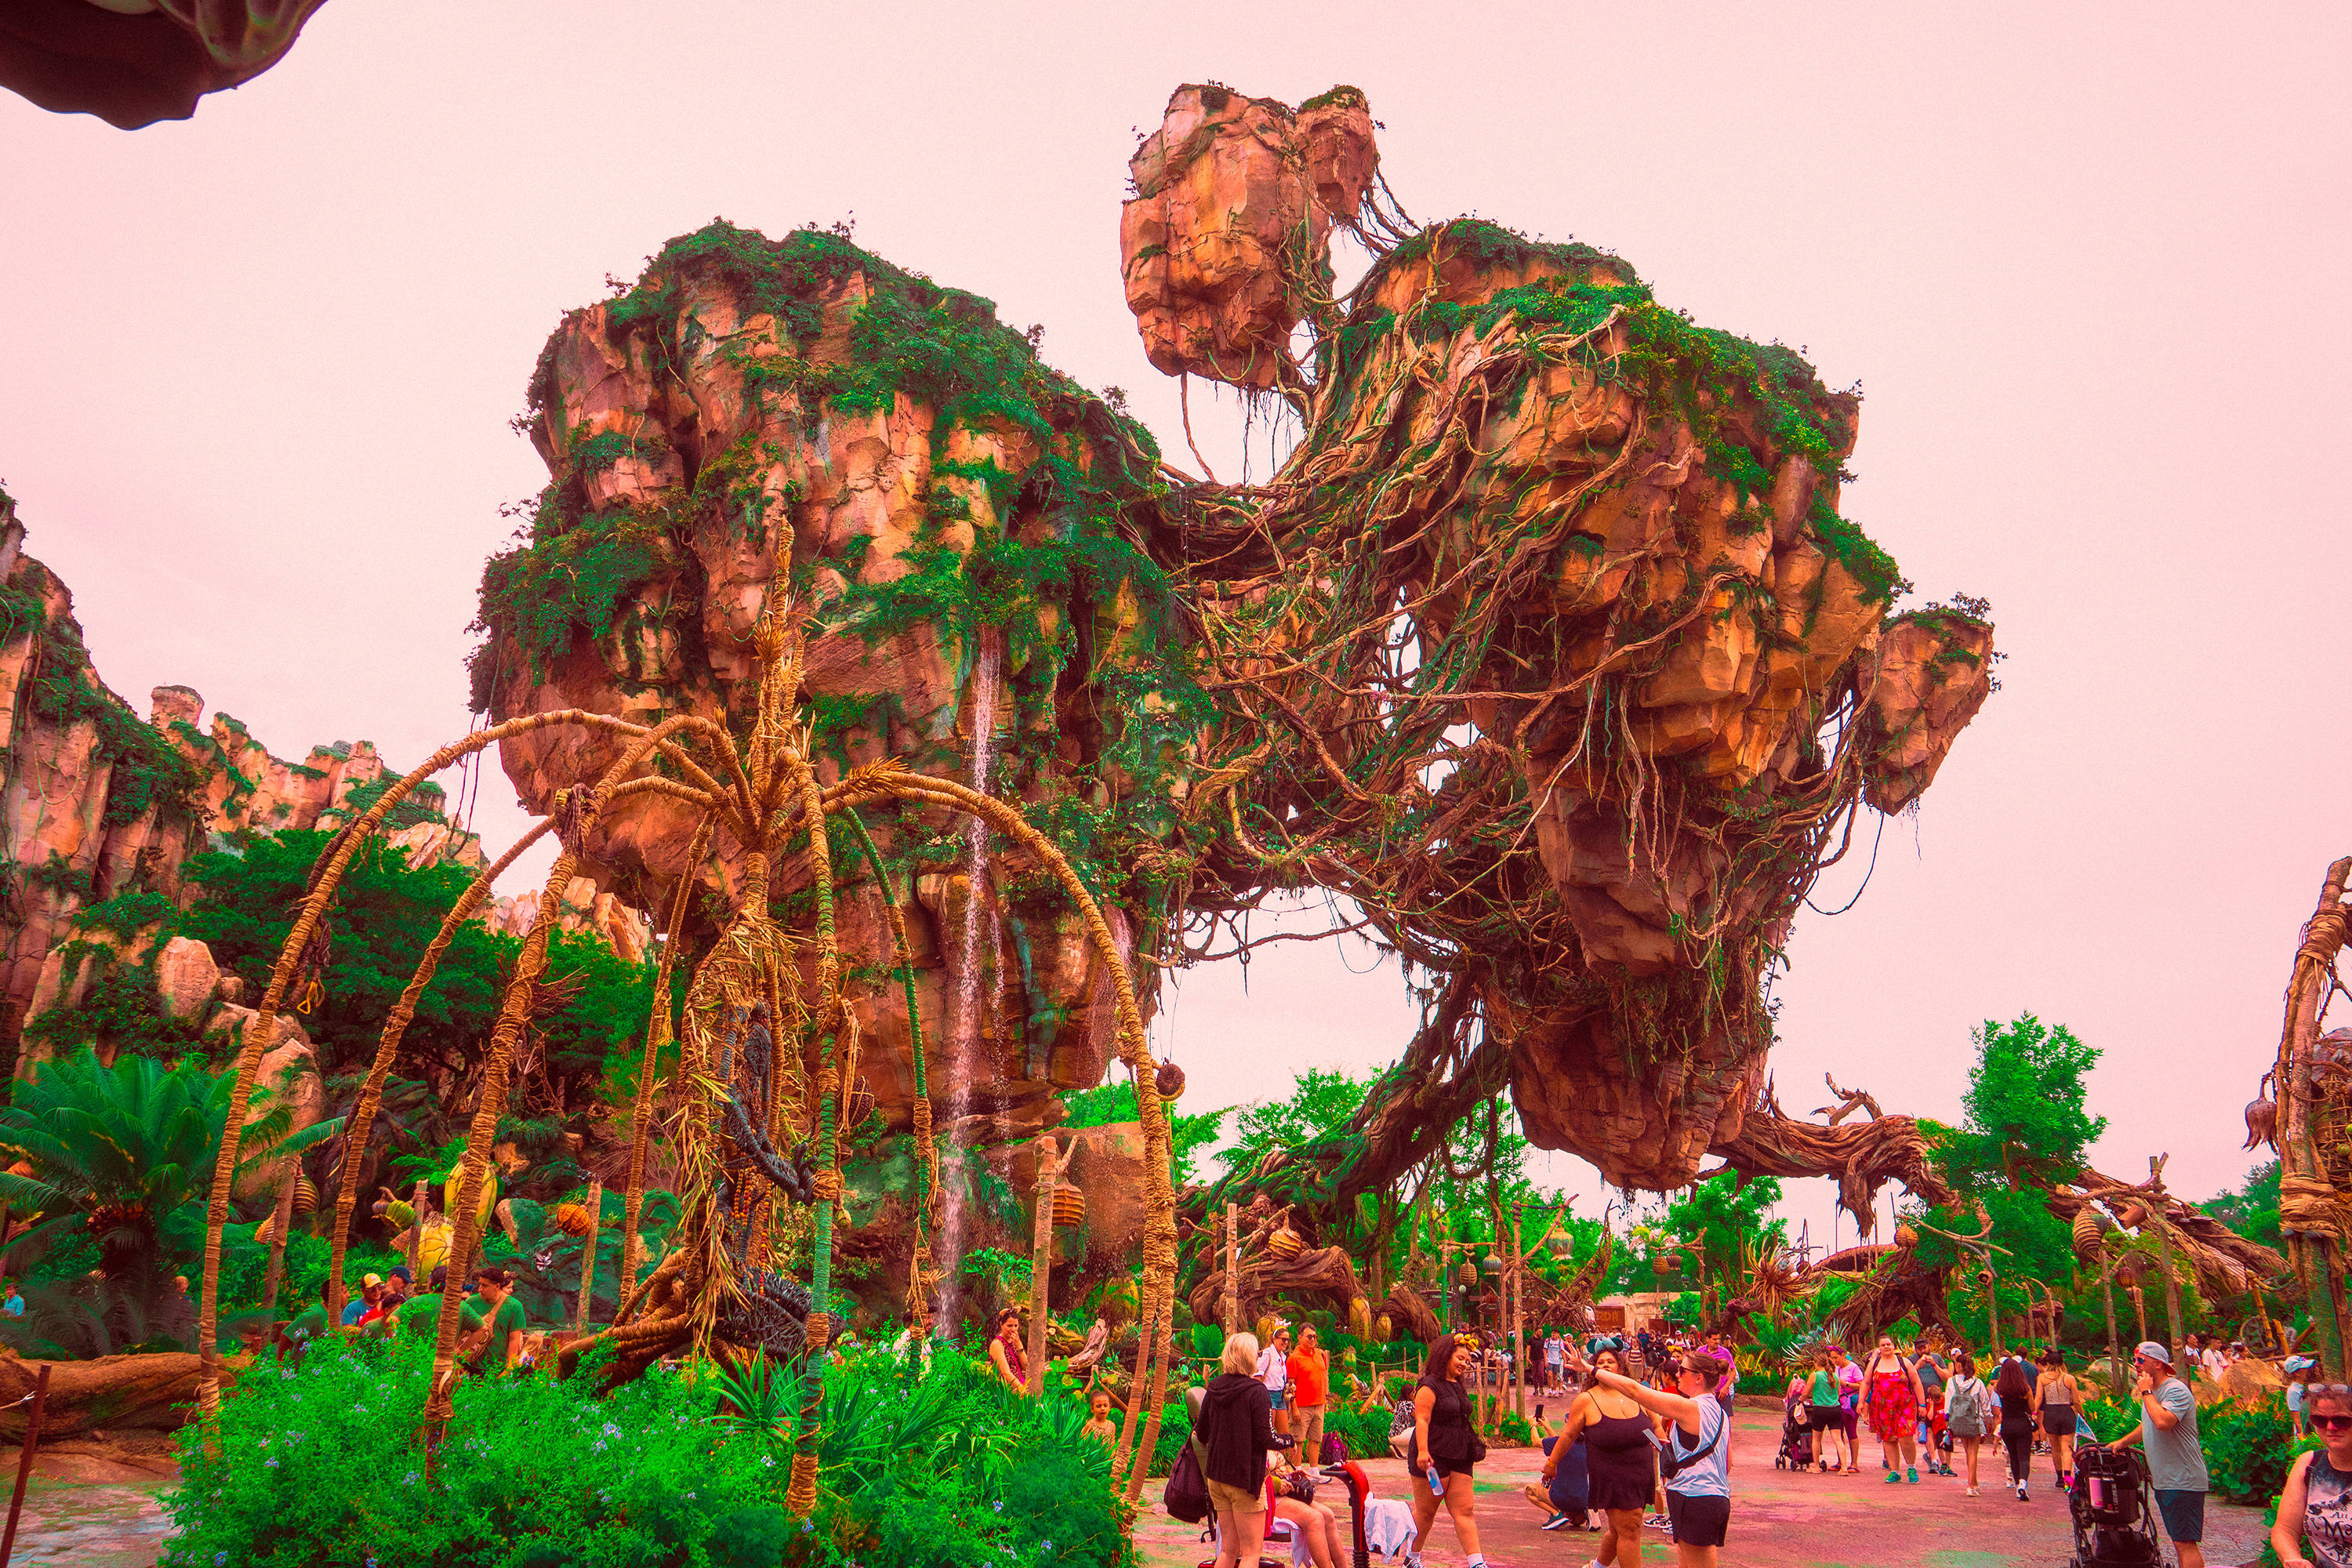
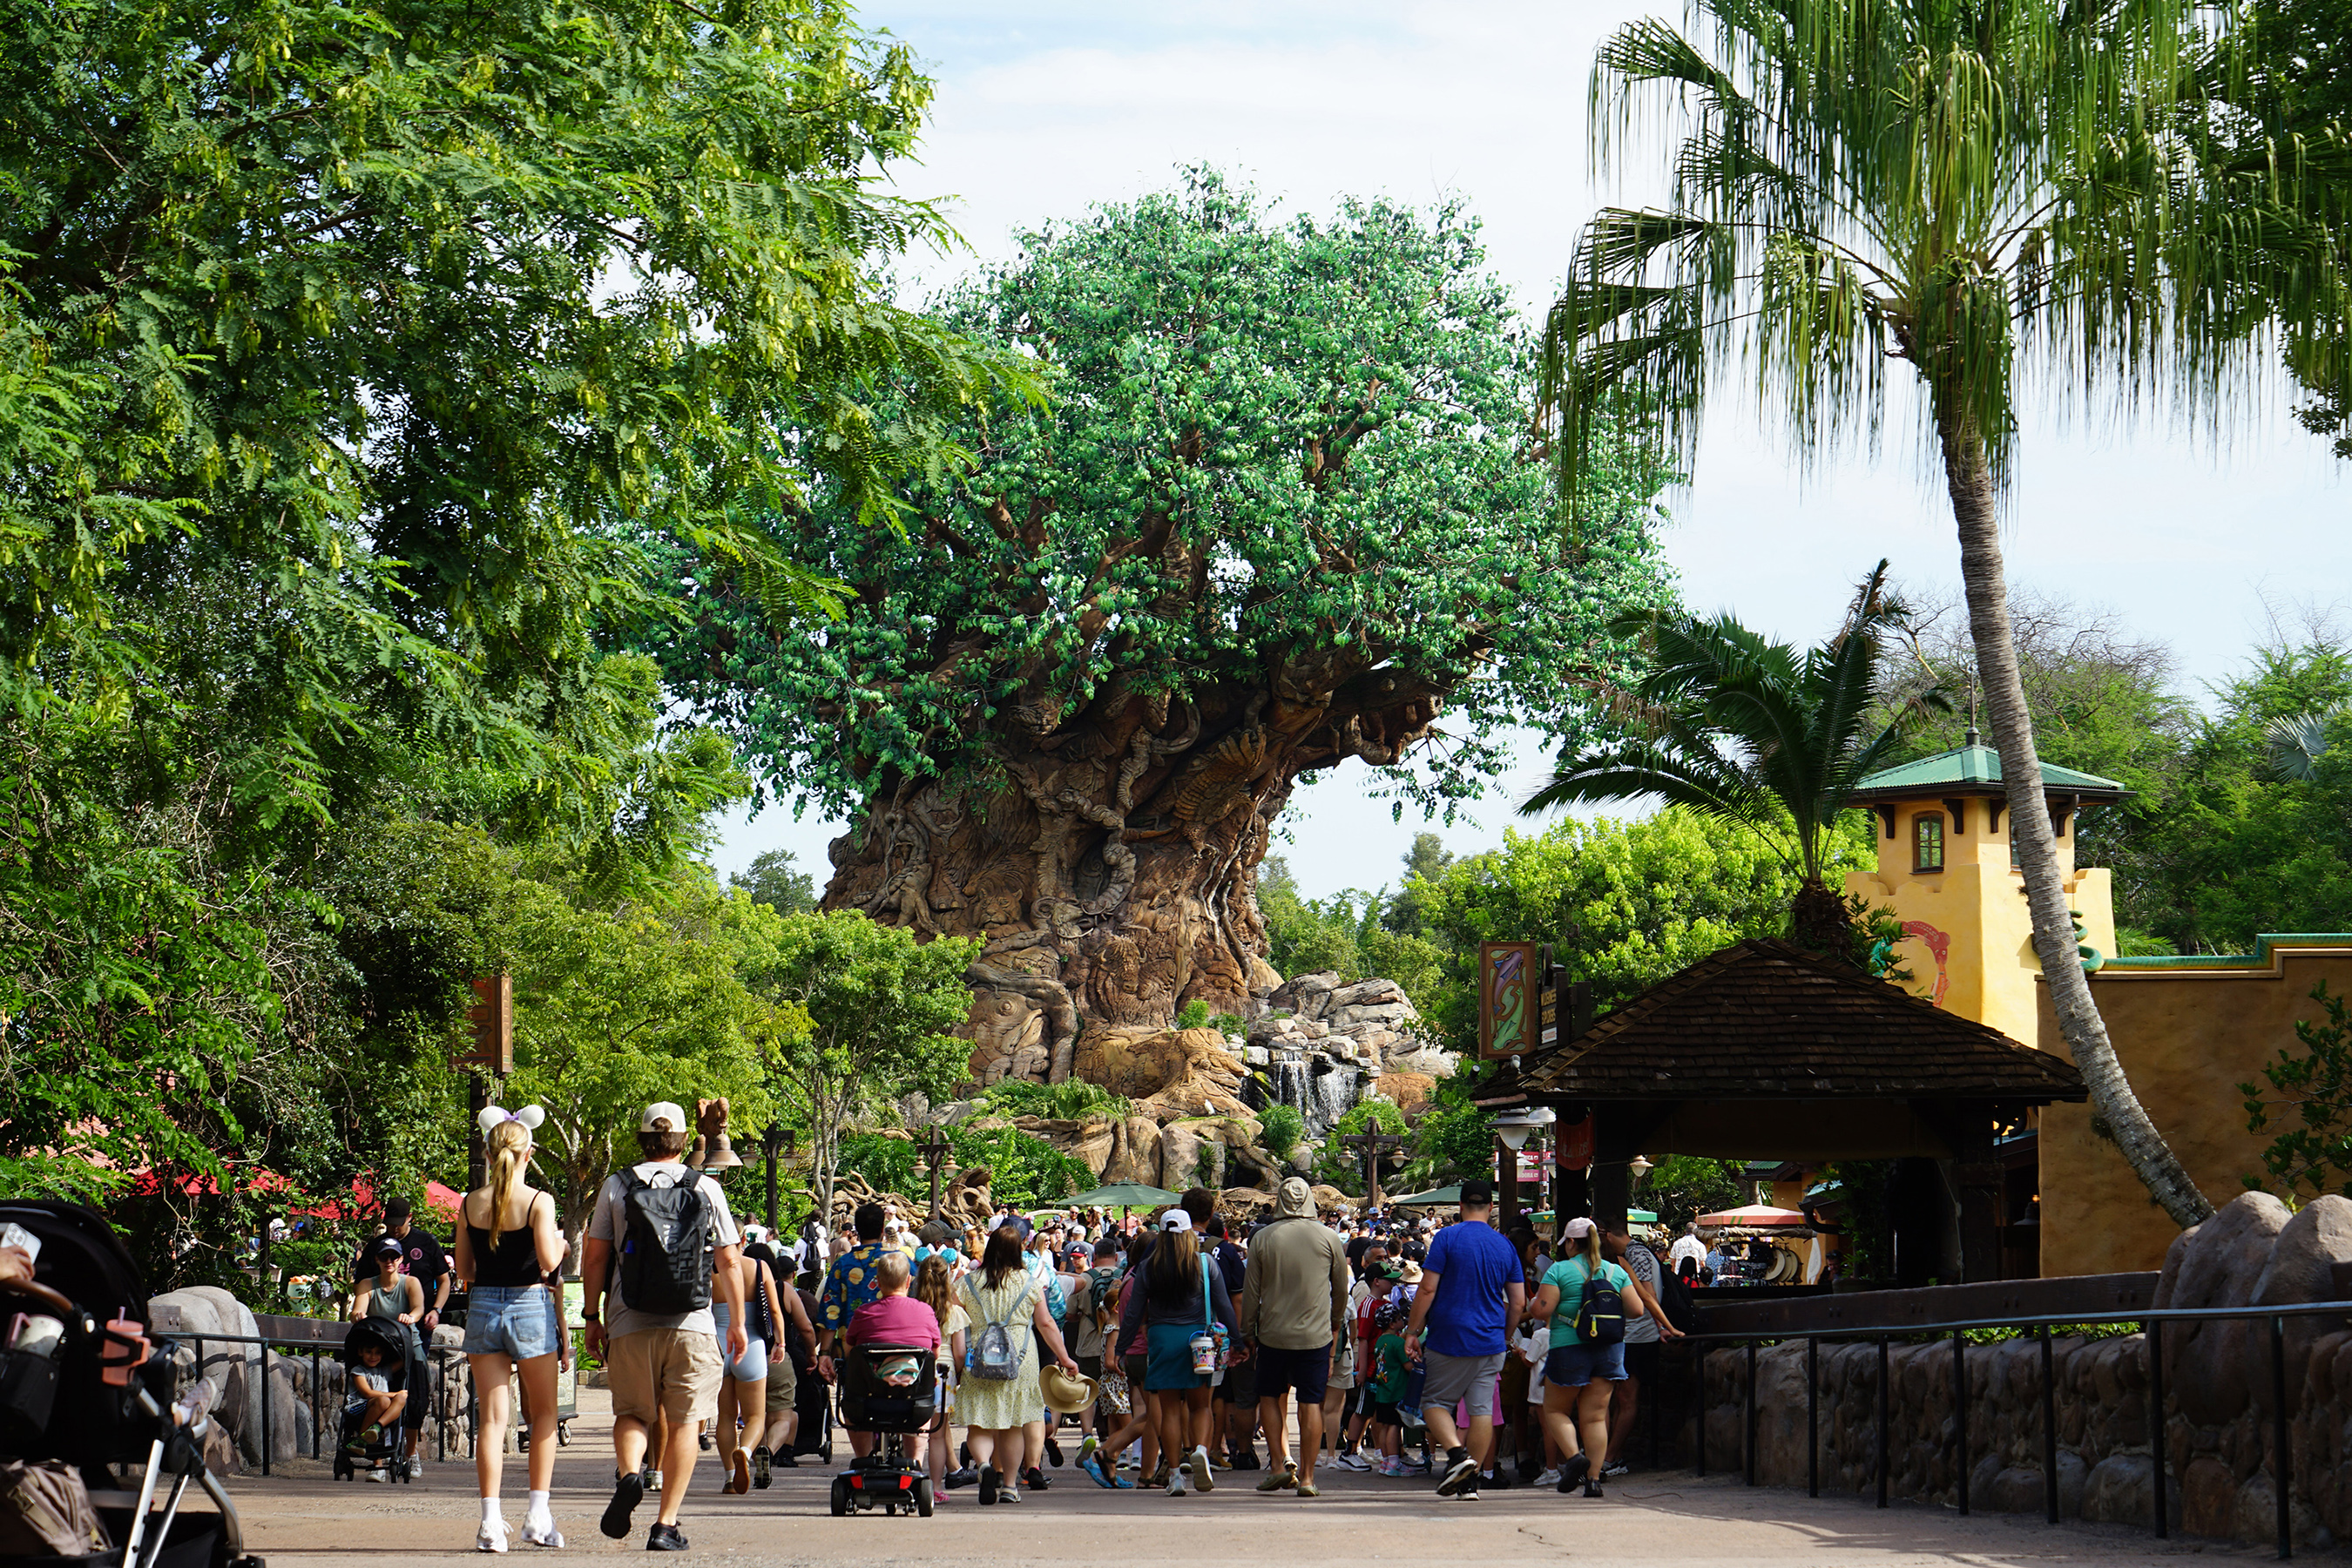
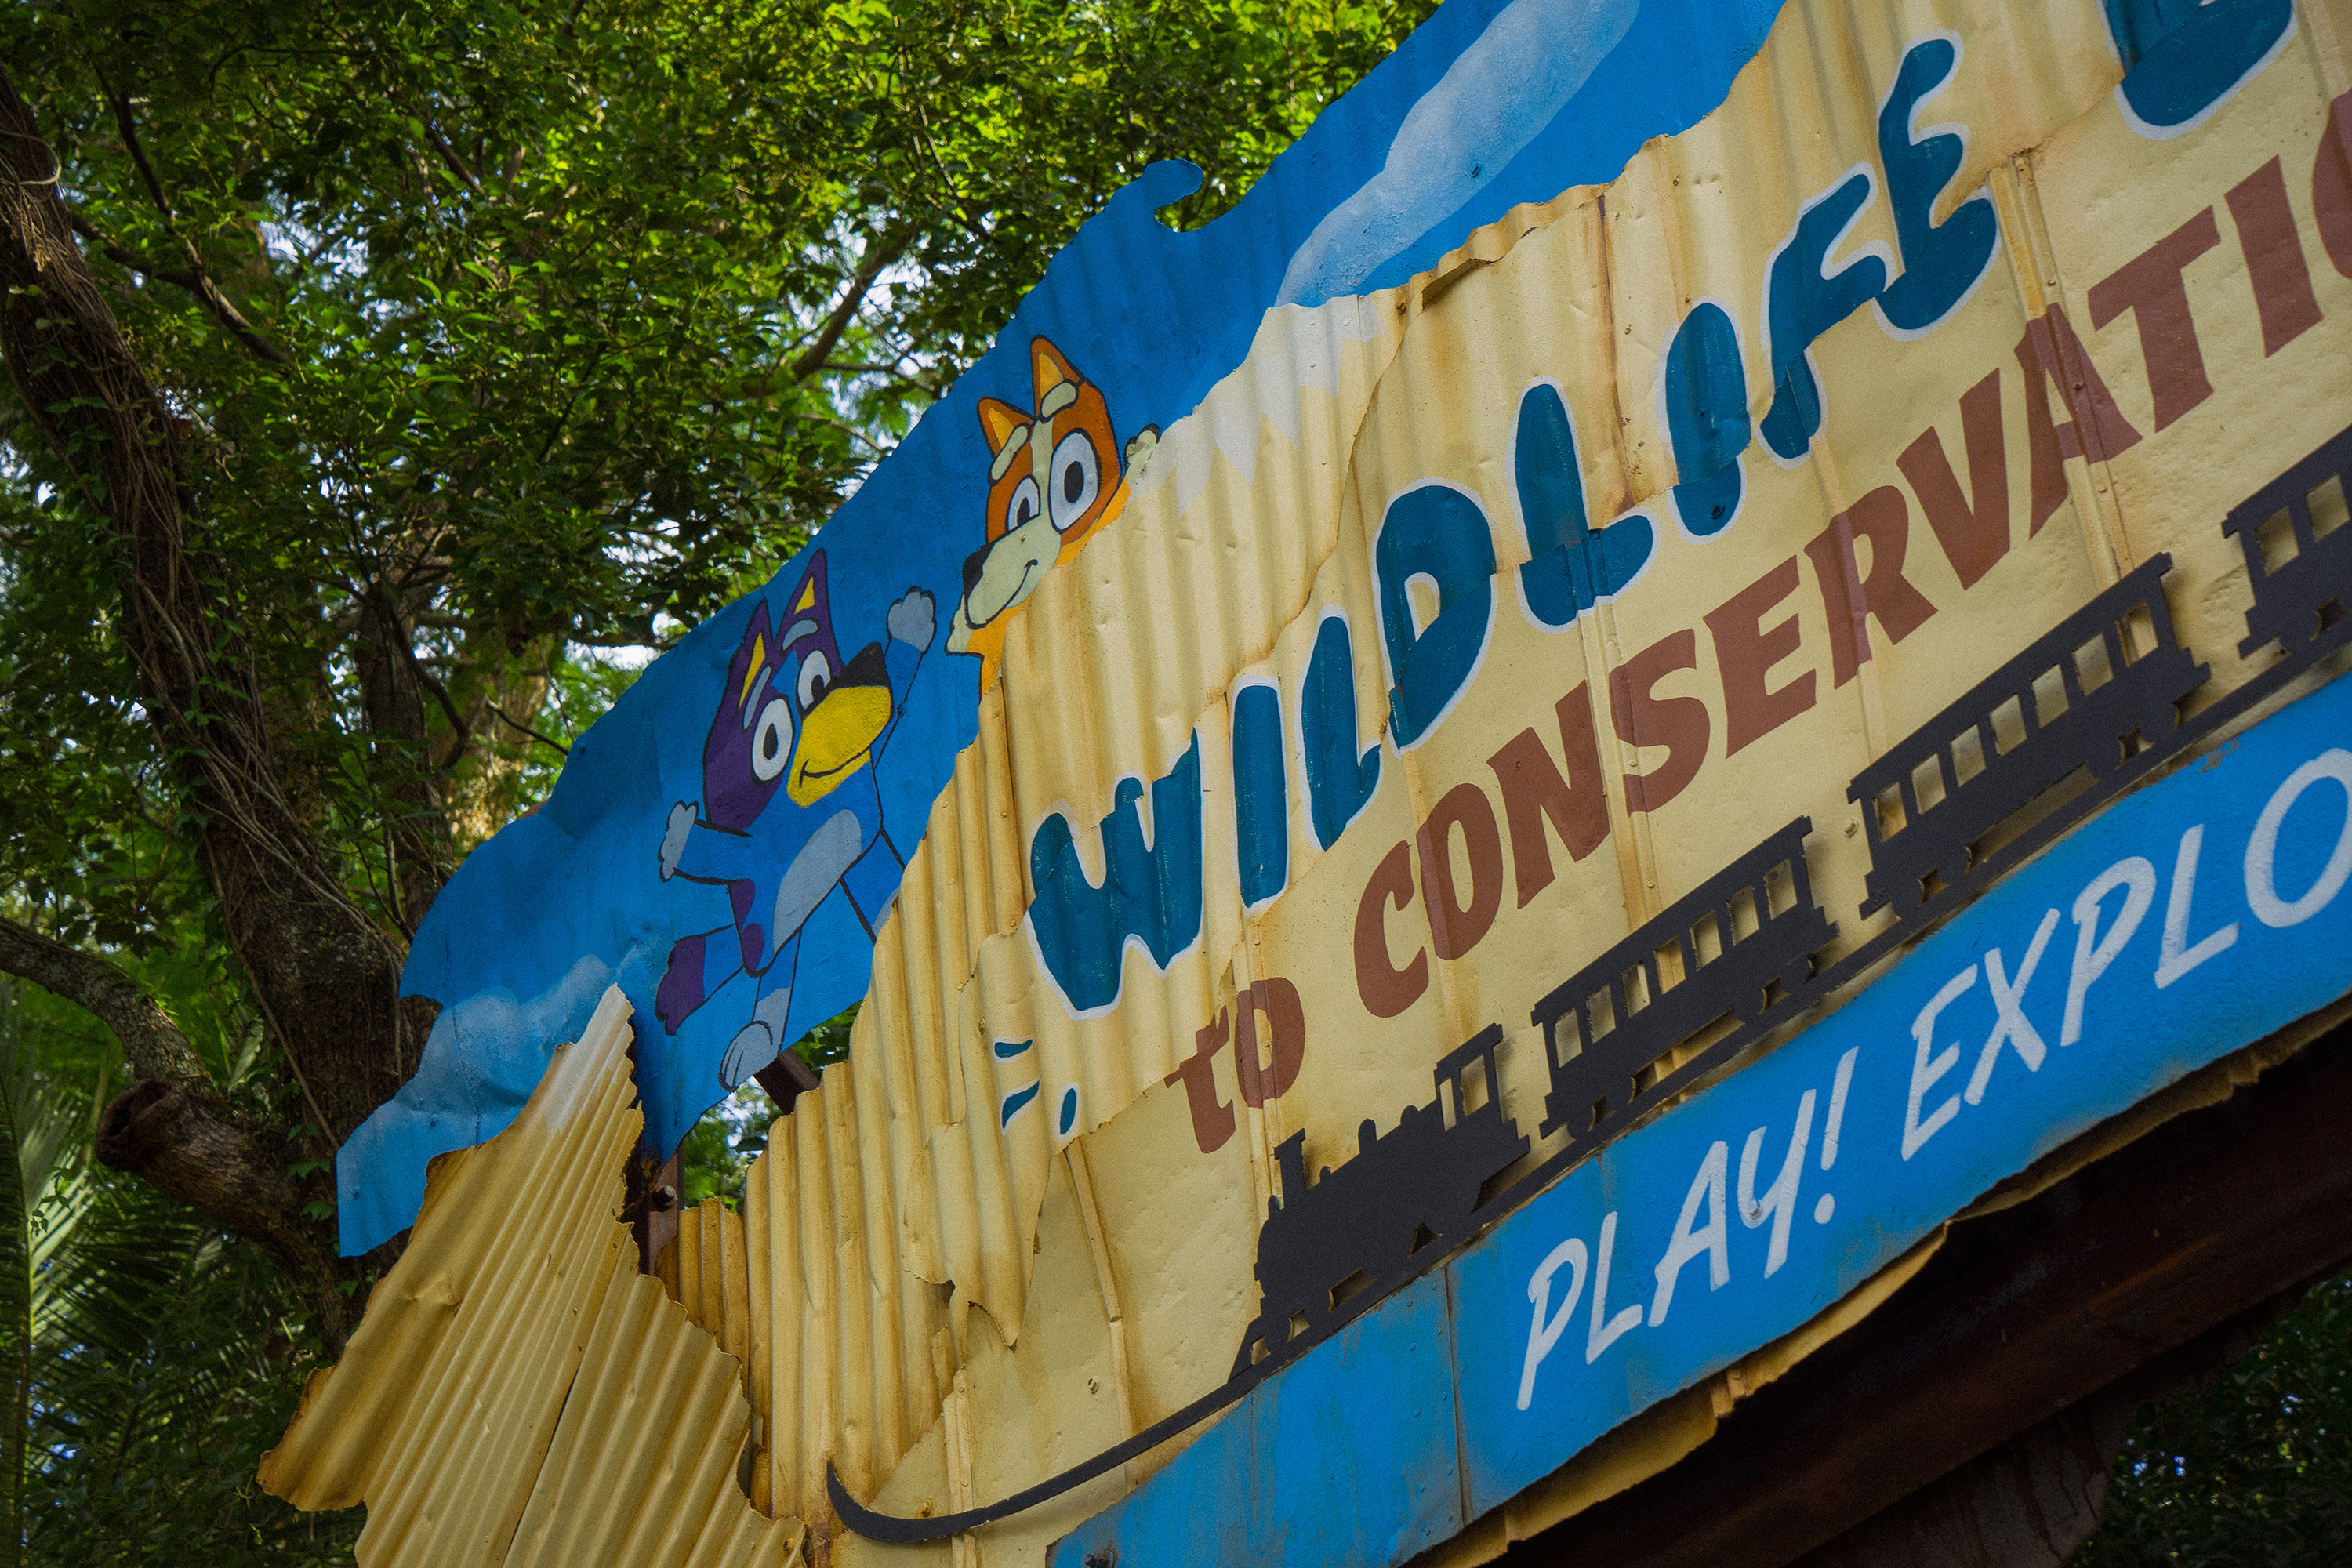
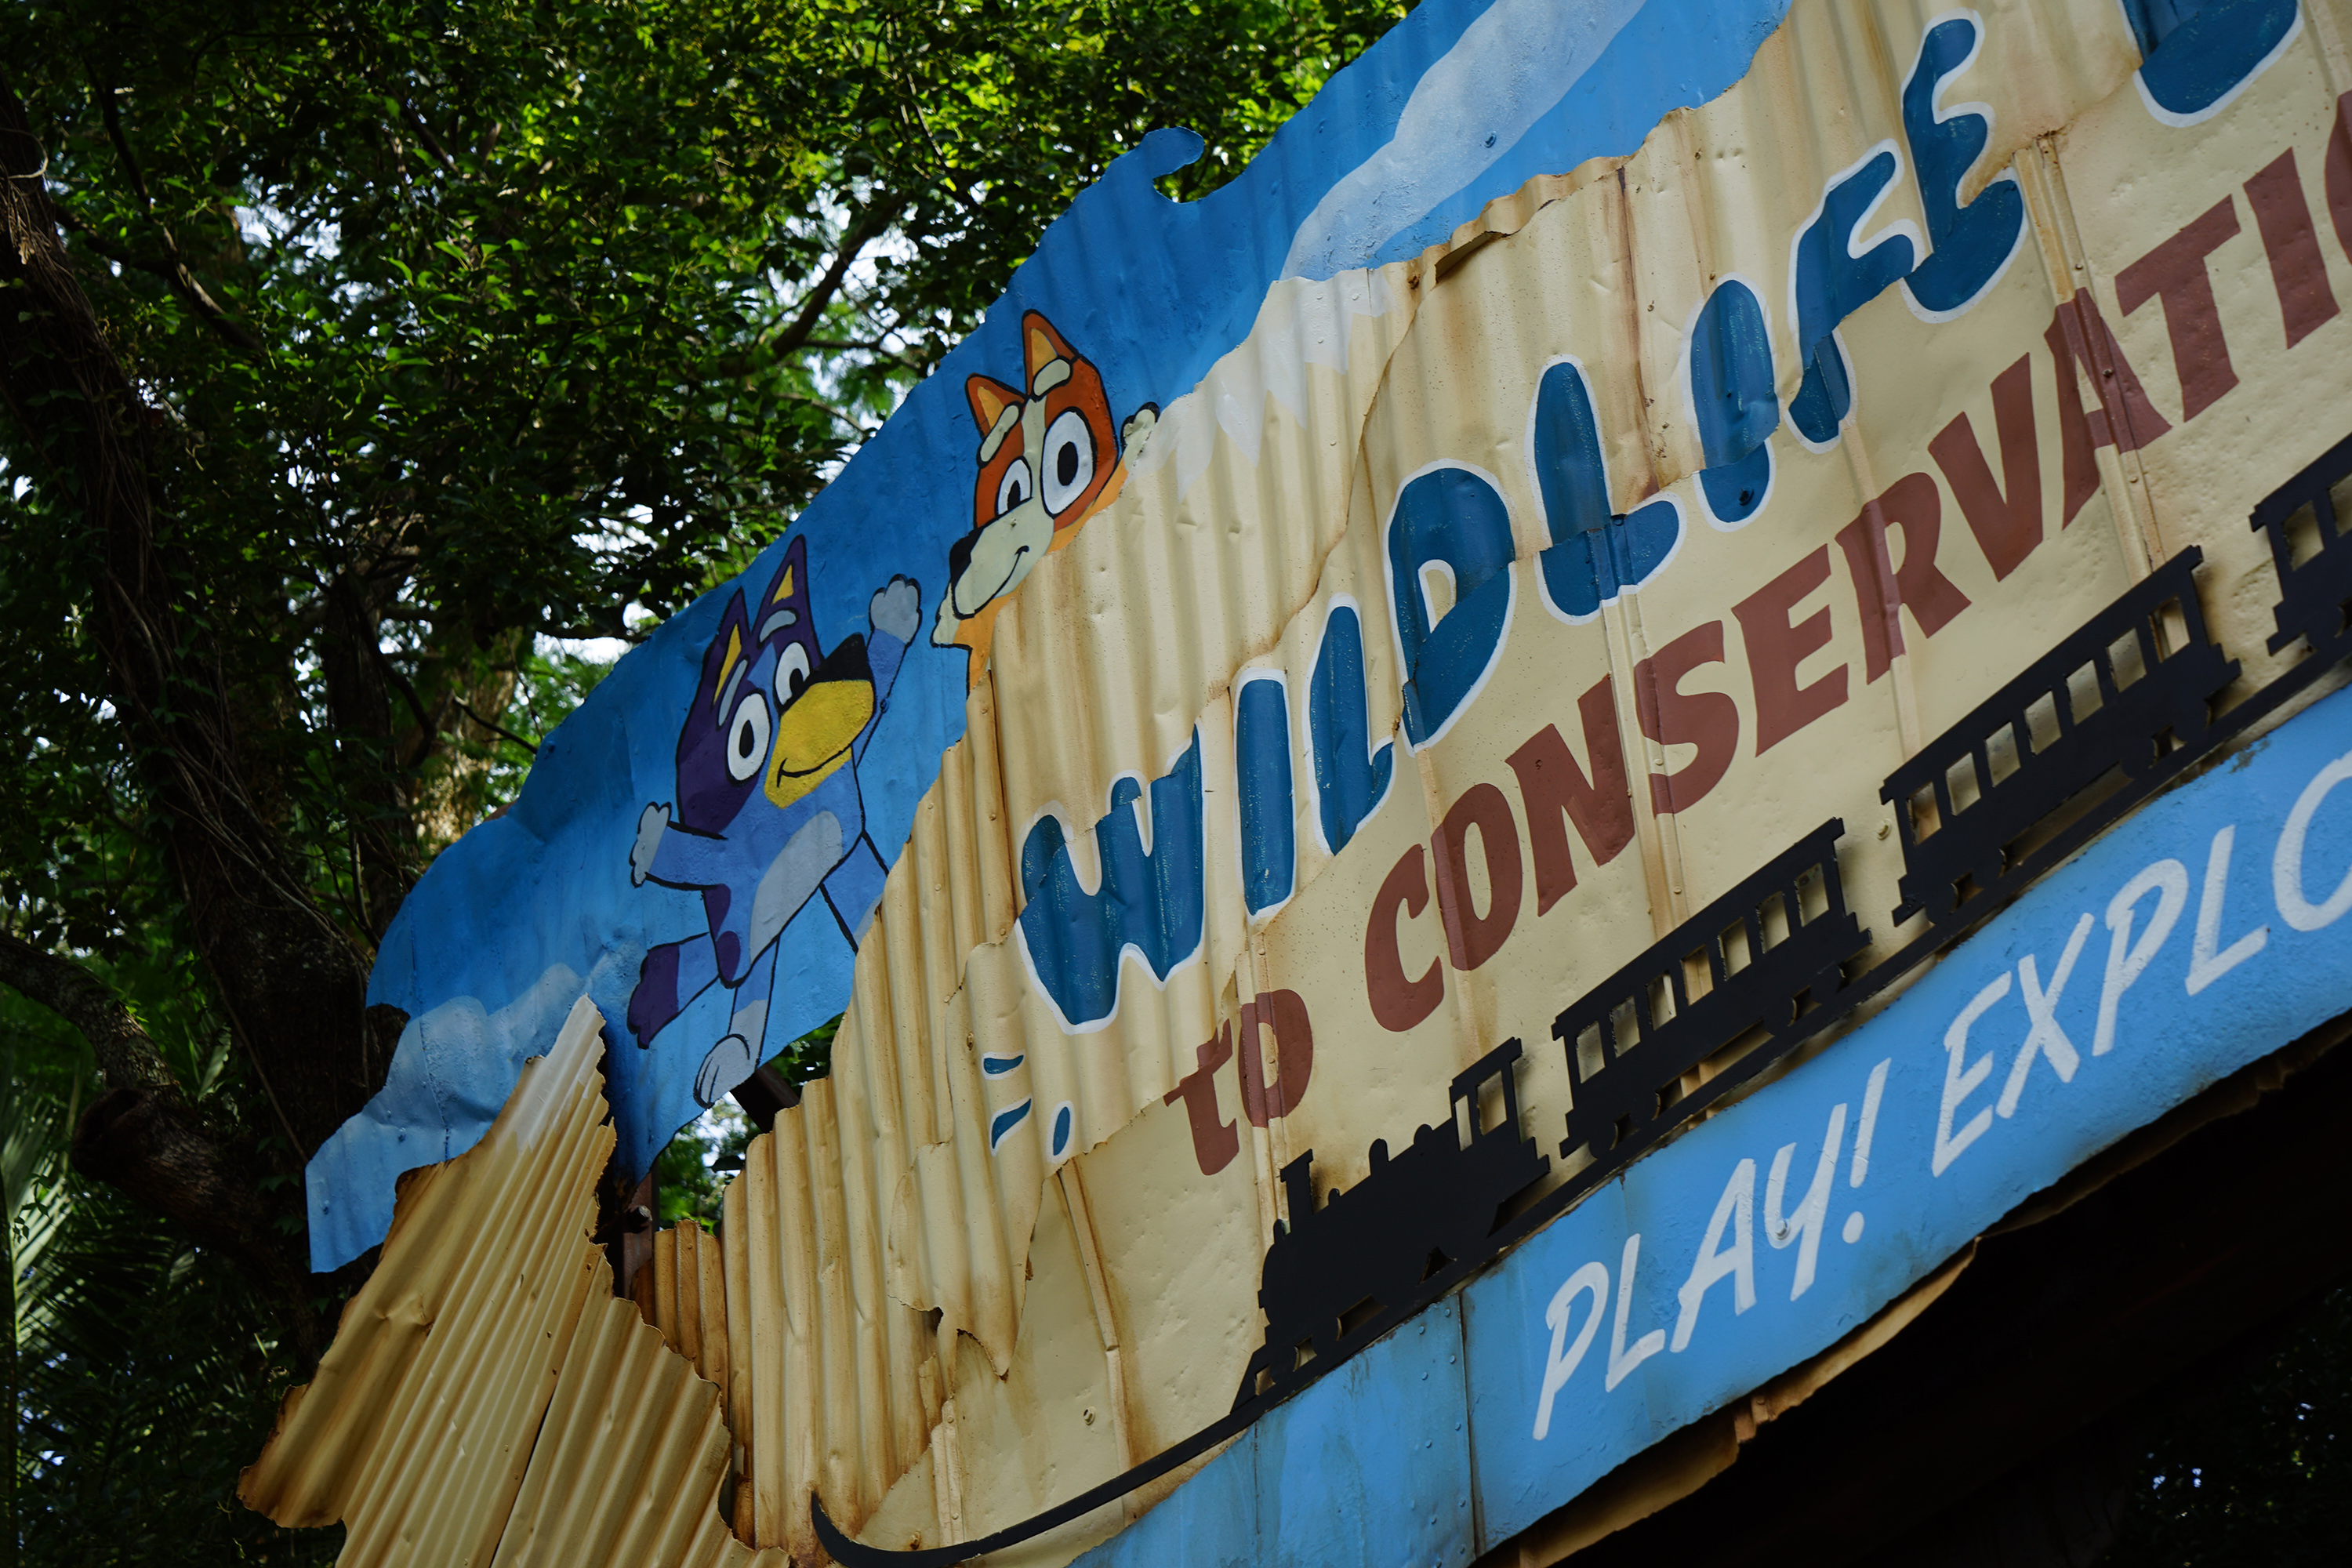
False-color foliage, strange skies and a deliberately unreal palette.
Subtle: absolutely not
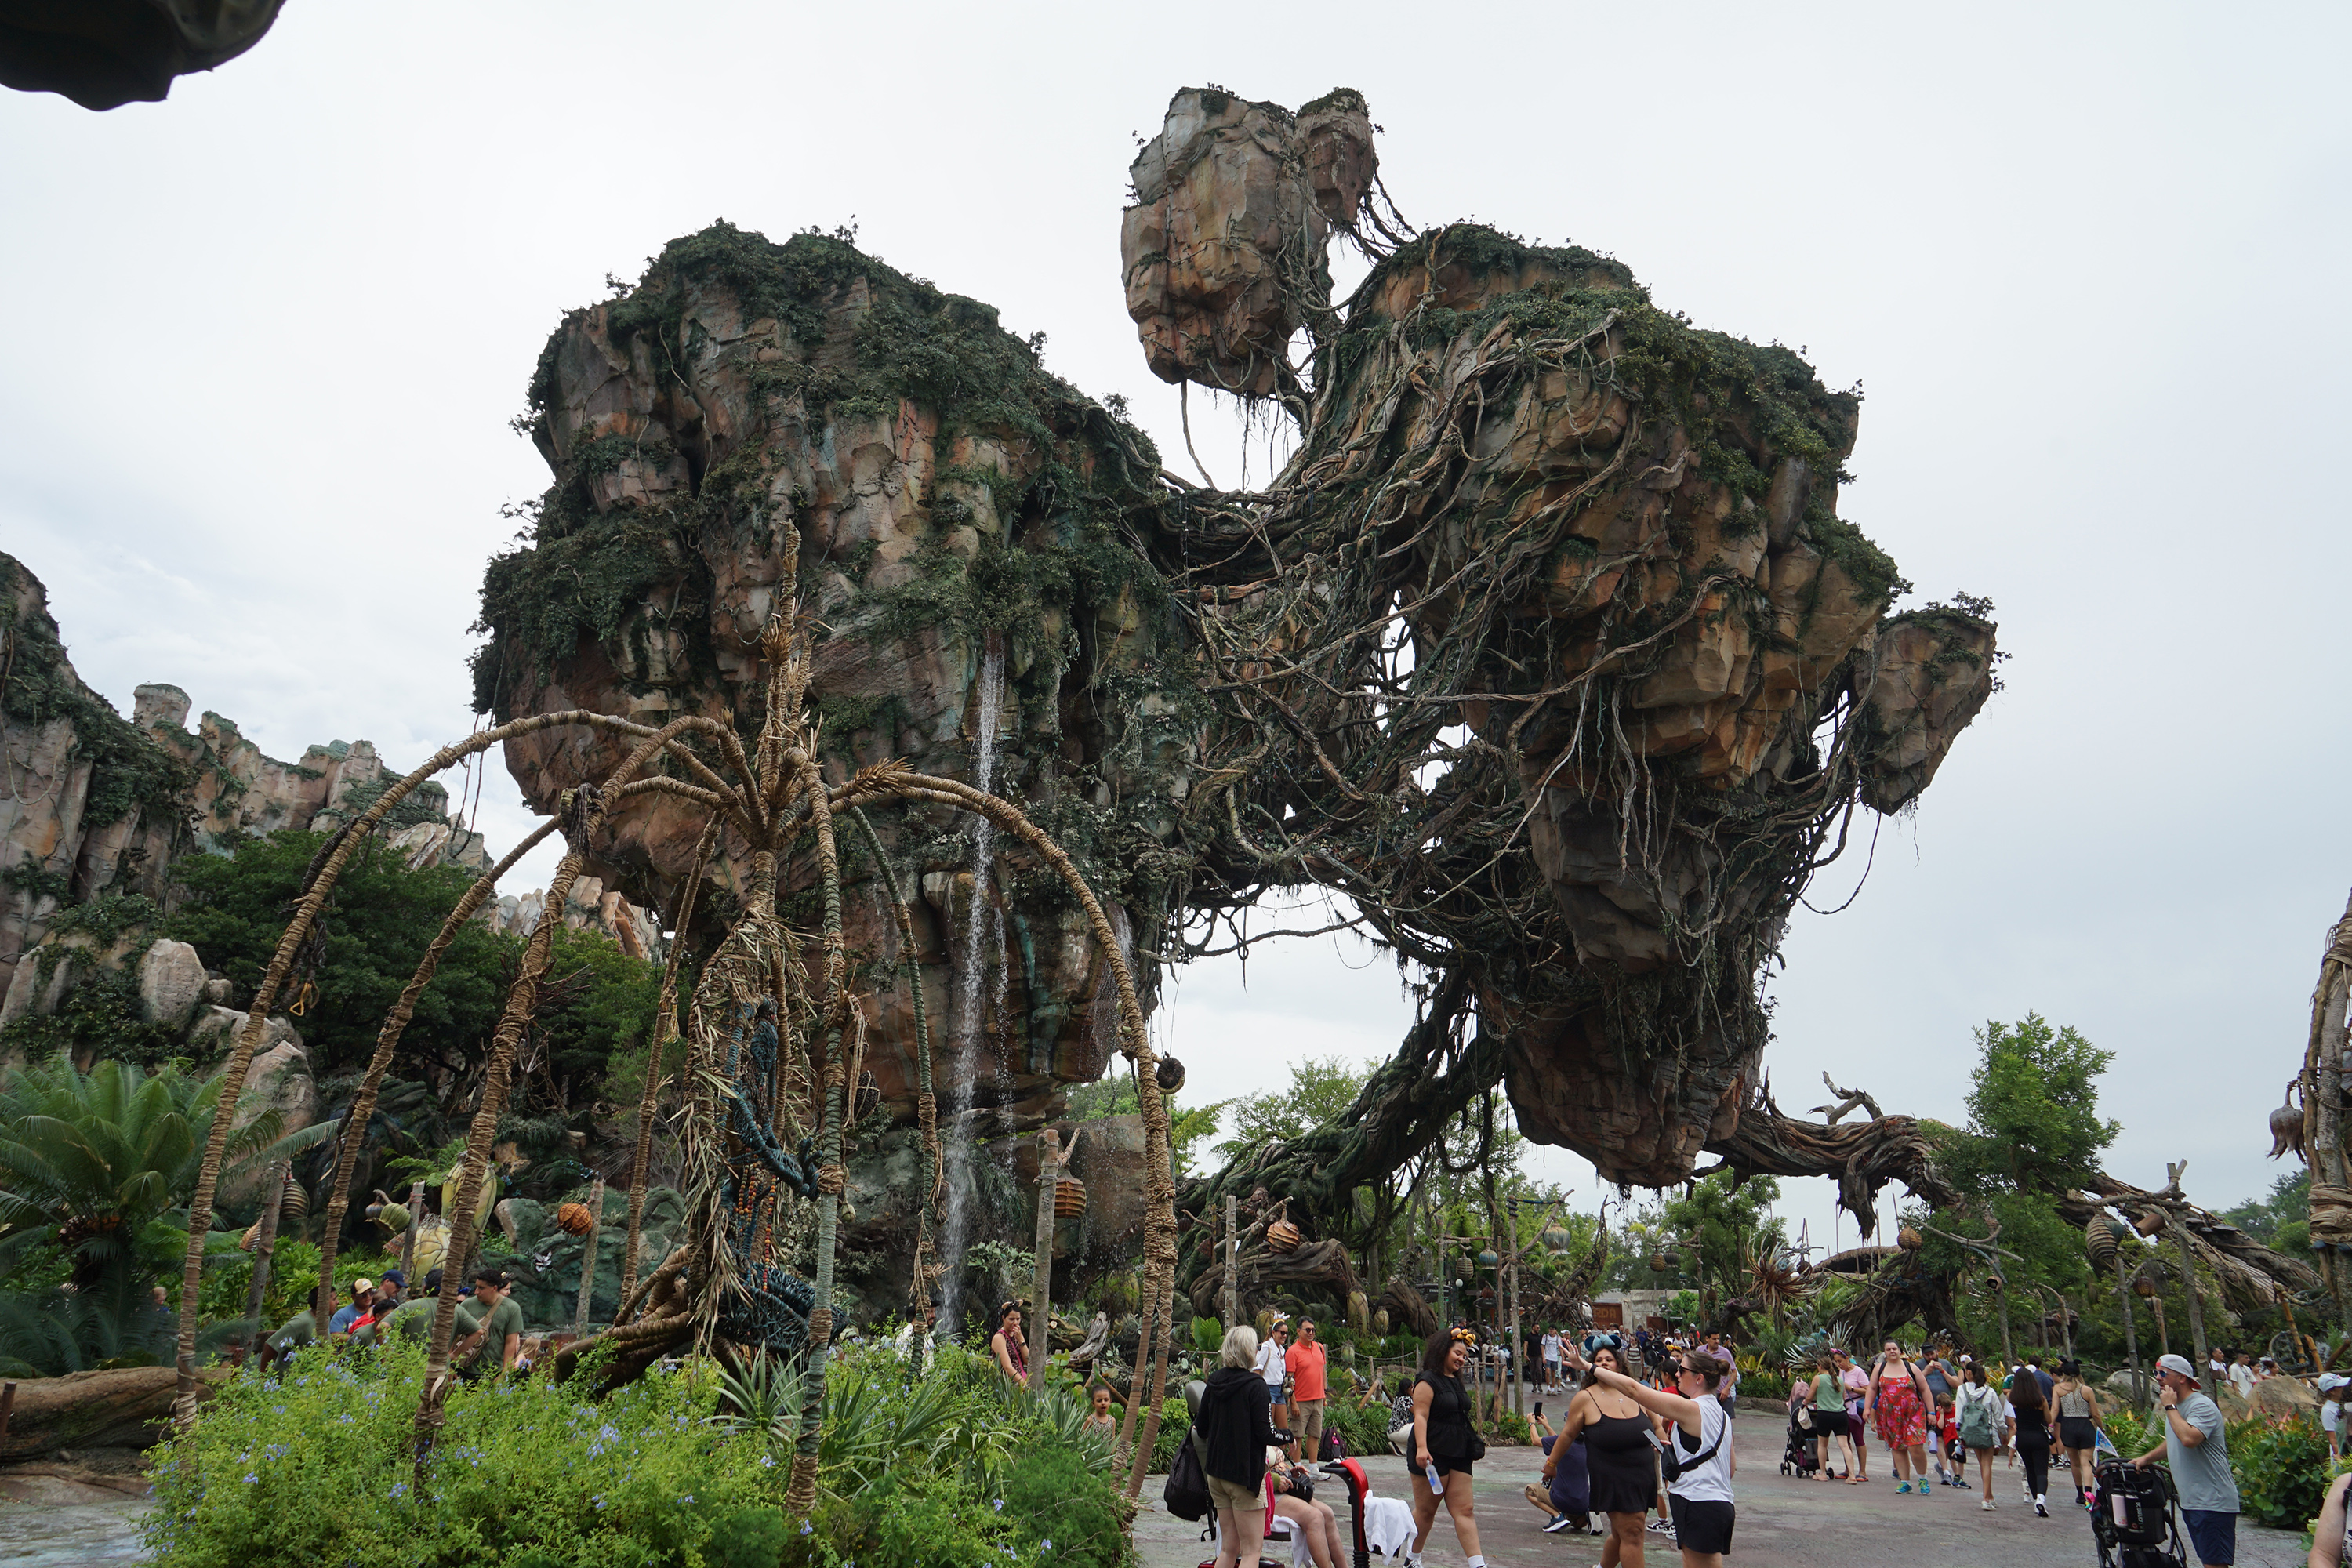
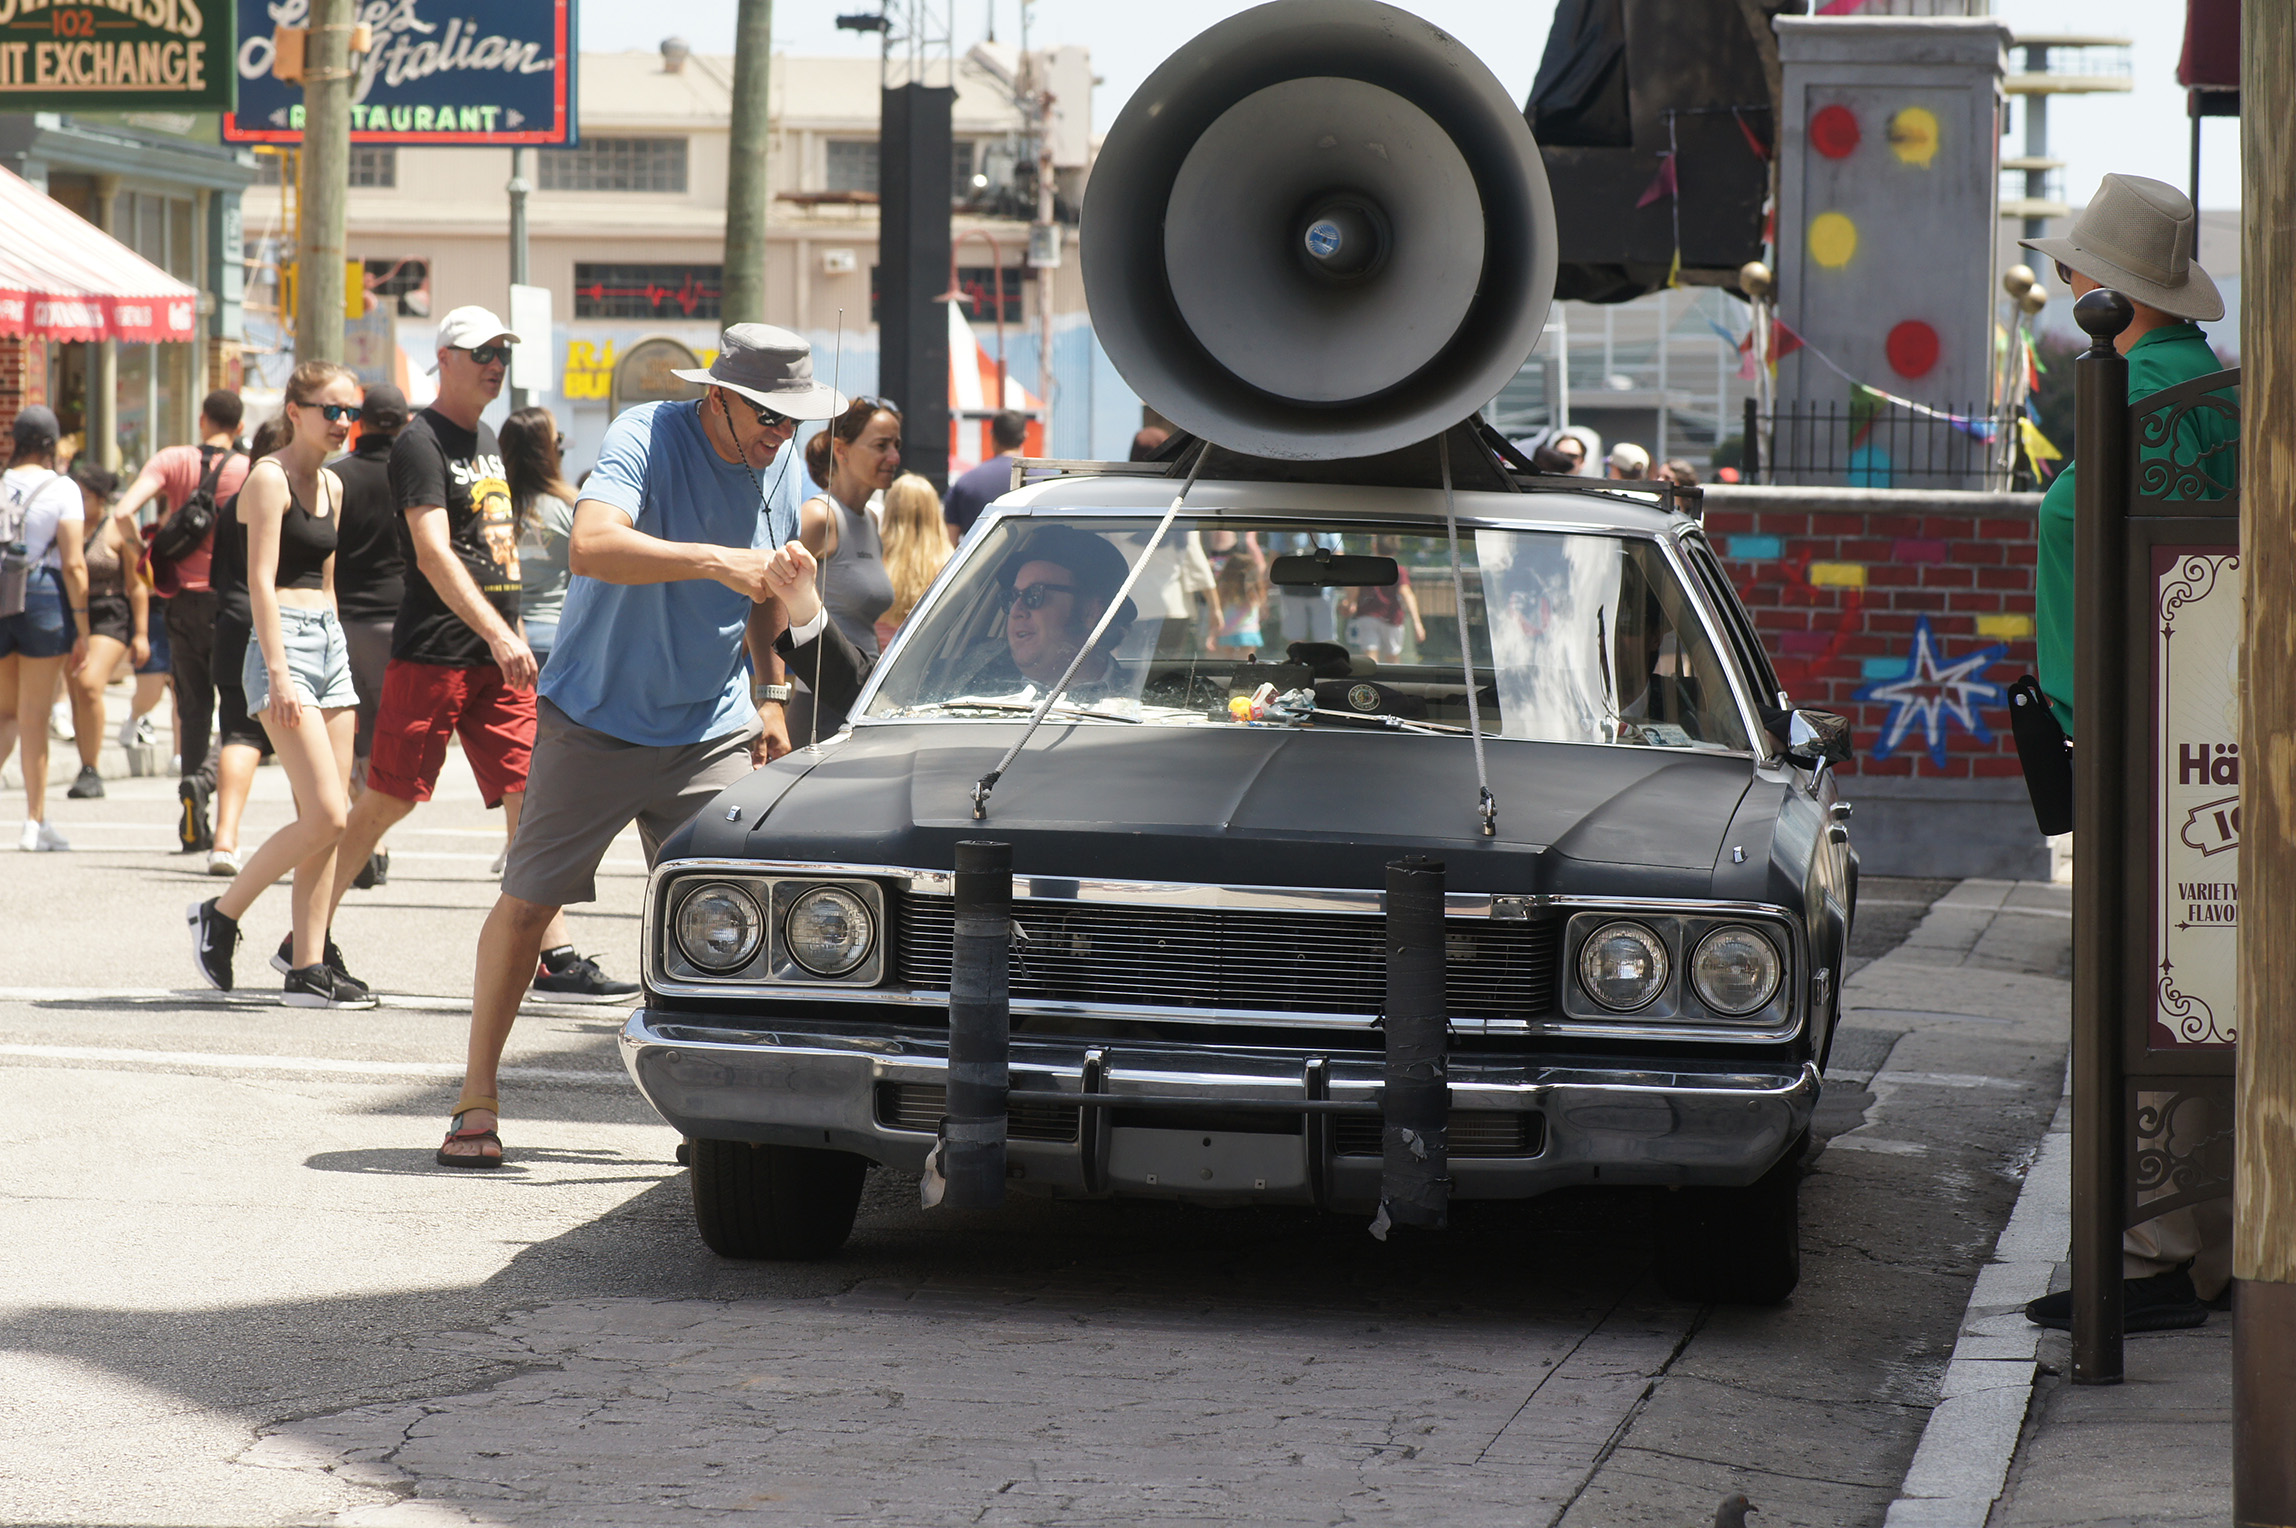
Before
After
These are looks I made for my own photography. Some get close to film stocks I like, but they are not scientifically accurate film simulations because, IMO, that’s impossible. They’re just starting points I like using.
Download the ZIP
False-color foliage, strange skies and a deliberately unreal palette.
Subtle: absolutely not
Before
After
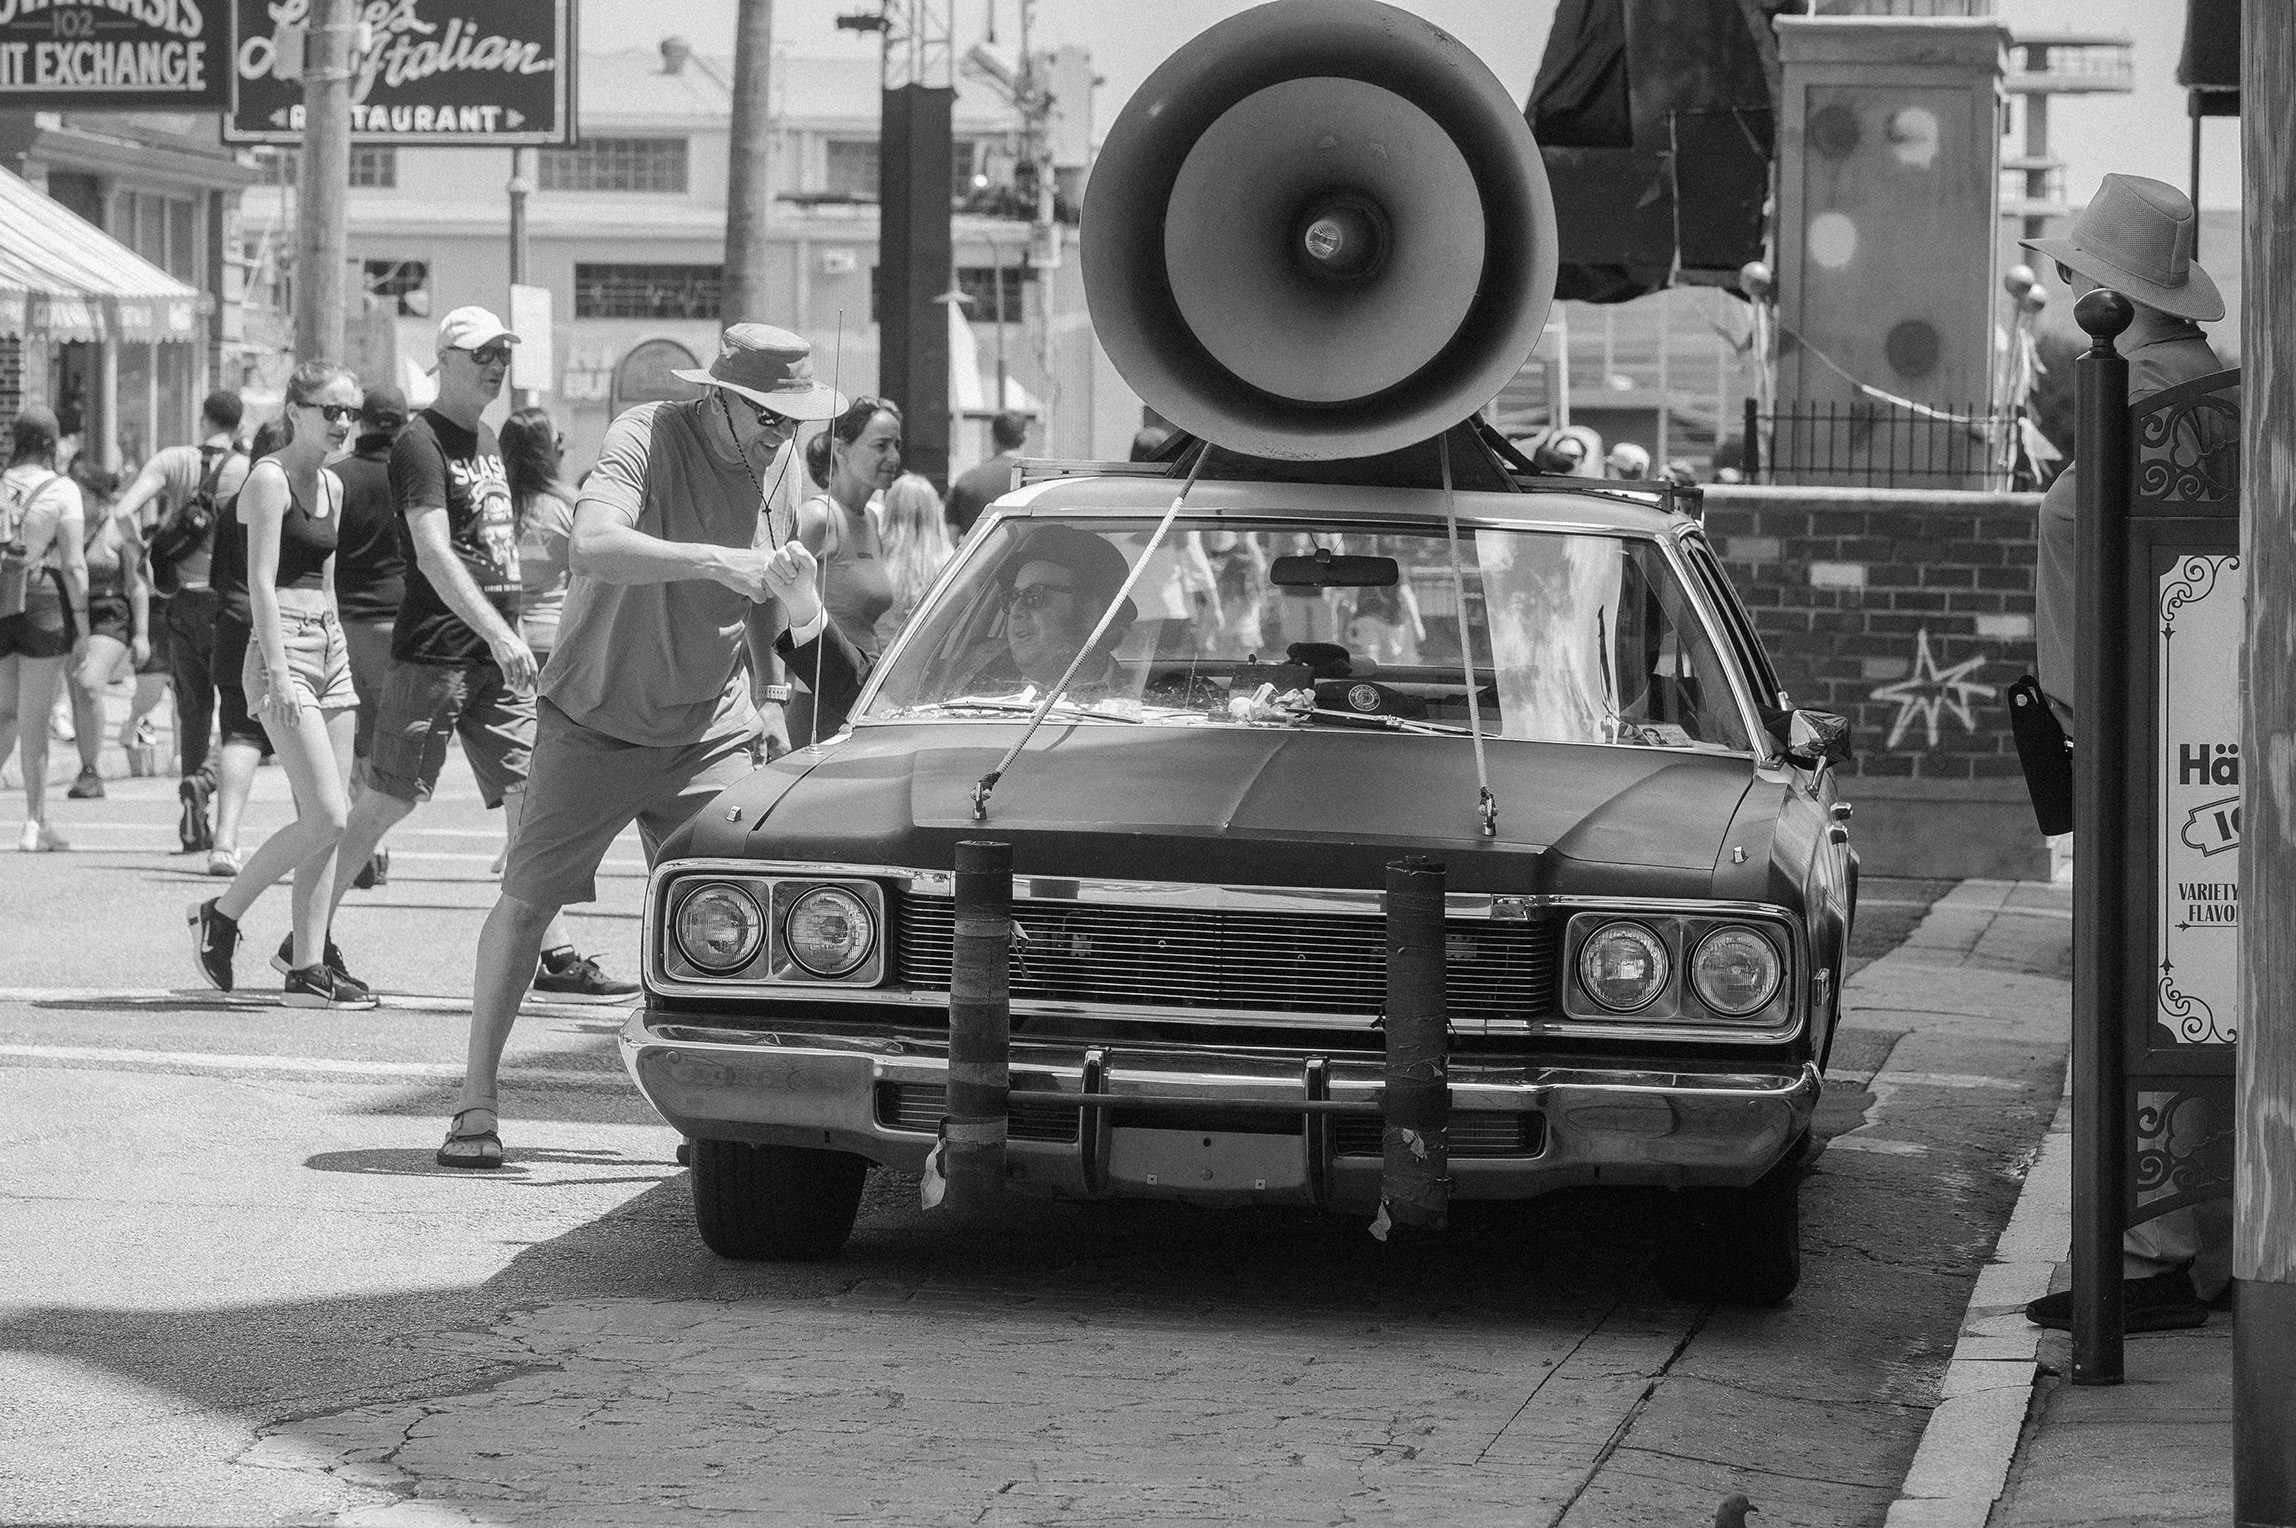
A crisp black-and-white treatment for documentary, street and everyday scenes.
Black + white
Before
After
Muted, grainy and a little busted on purpose. It tends to like imperfect pictures.
Embrace the jank
Before
After
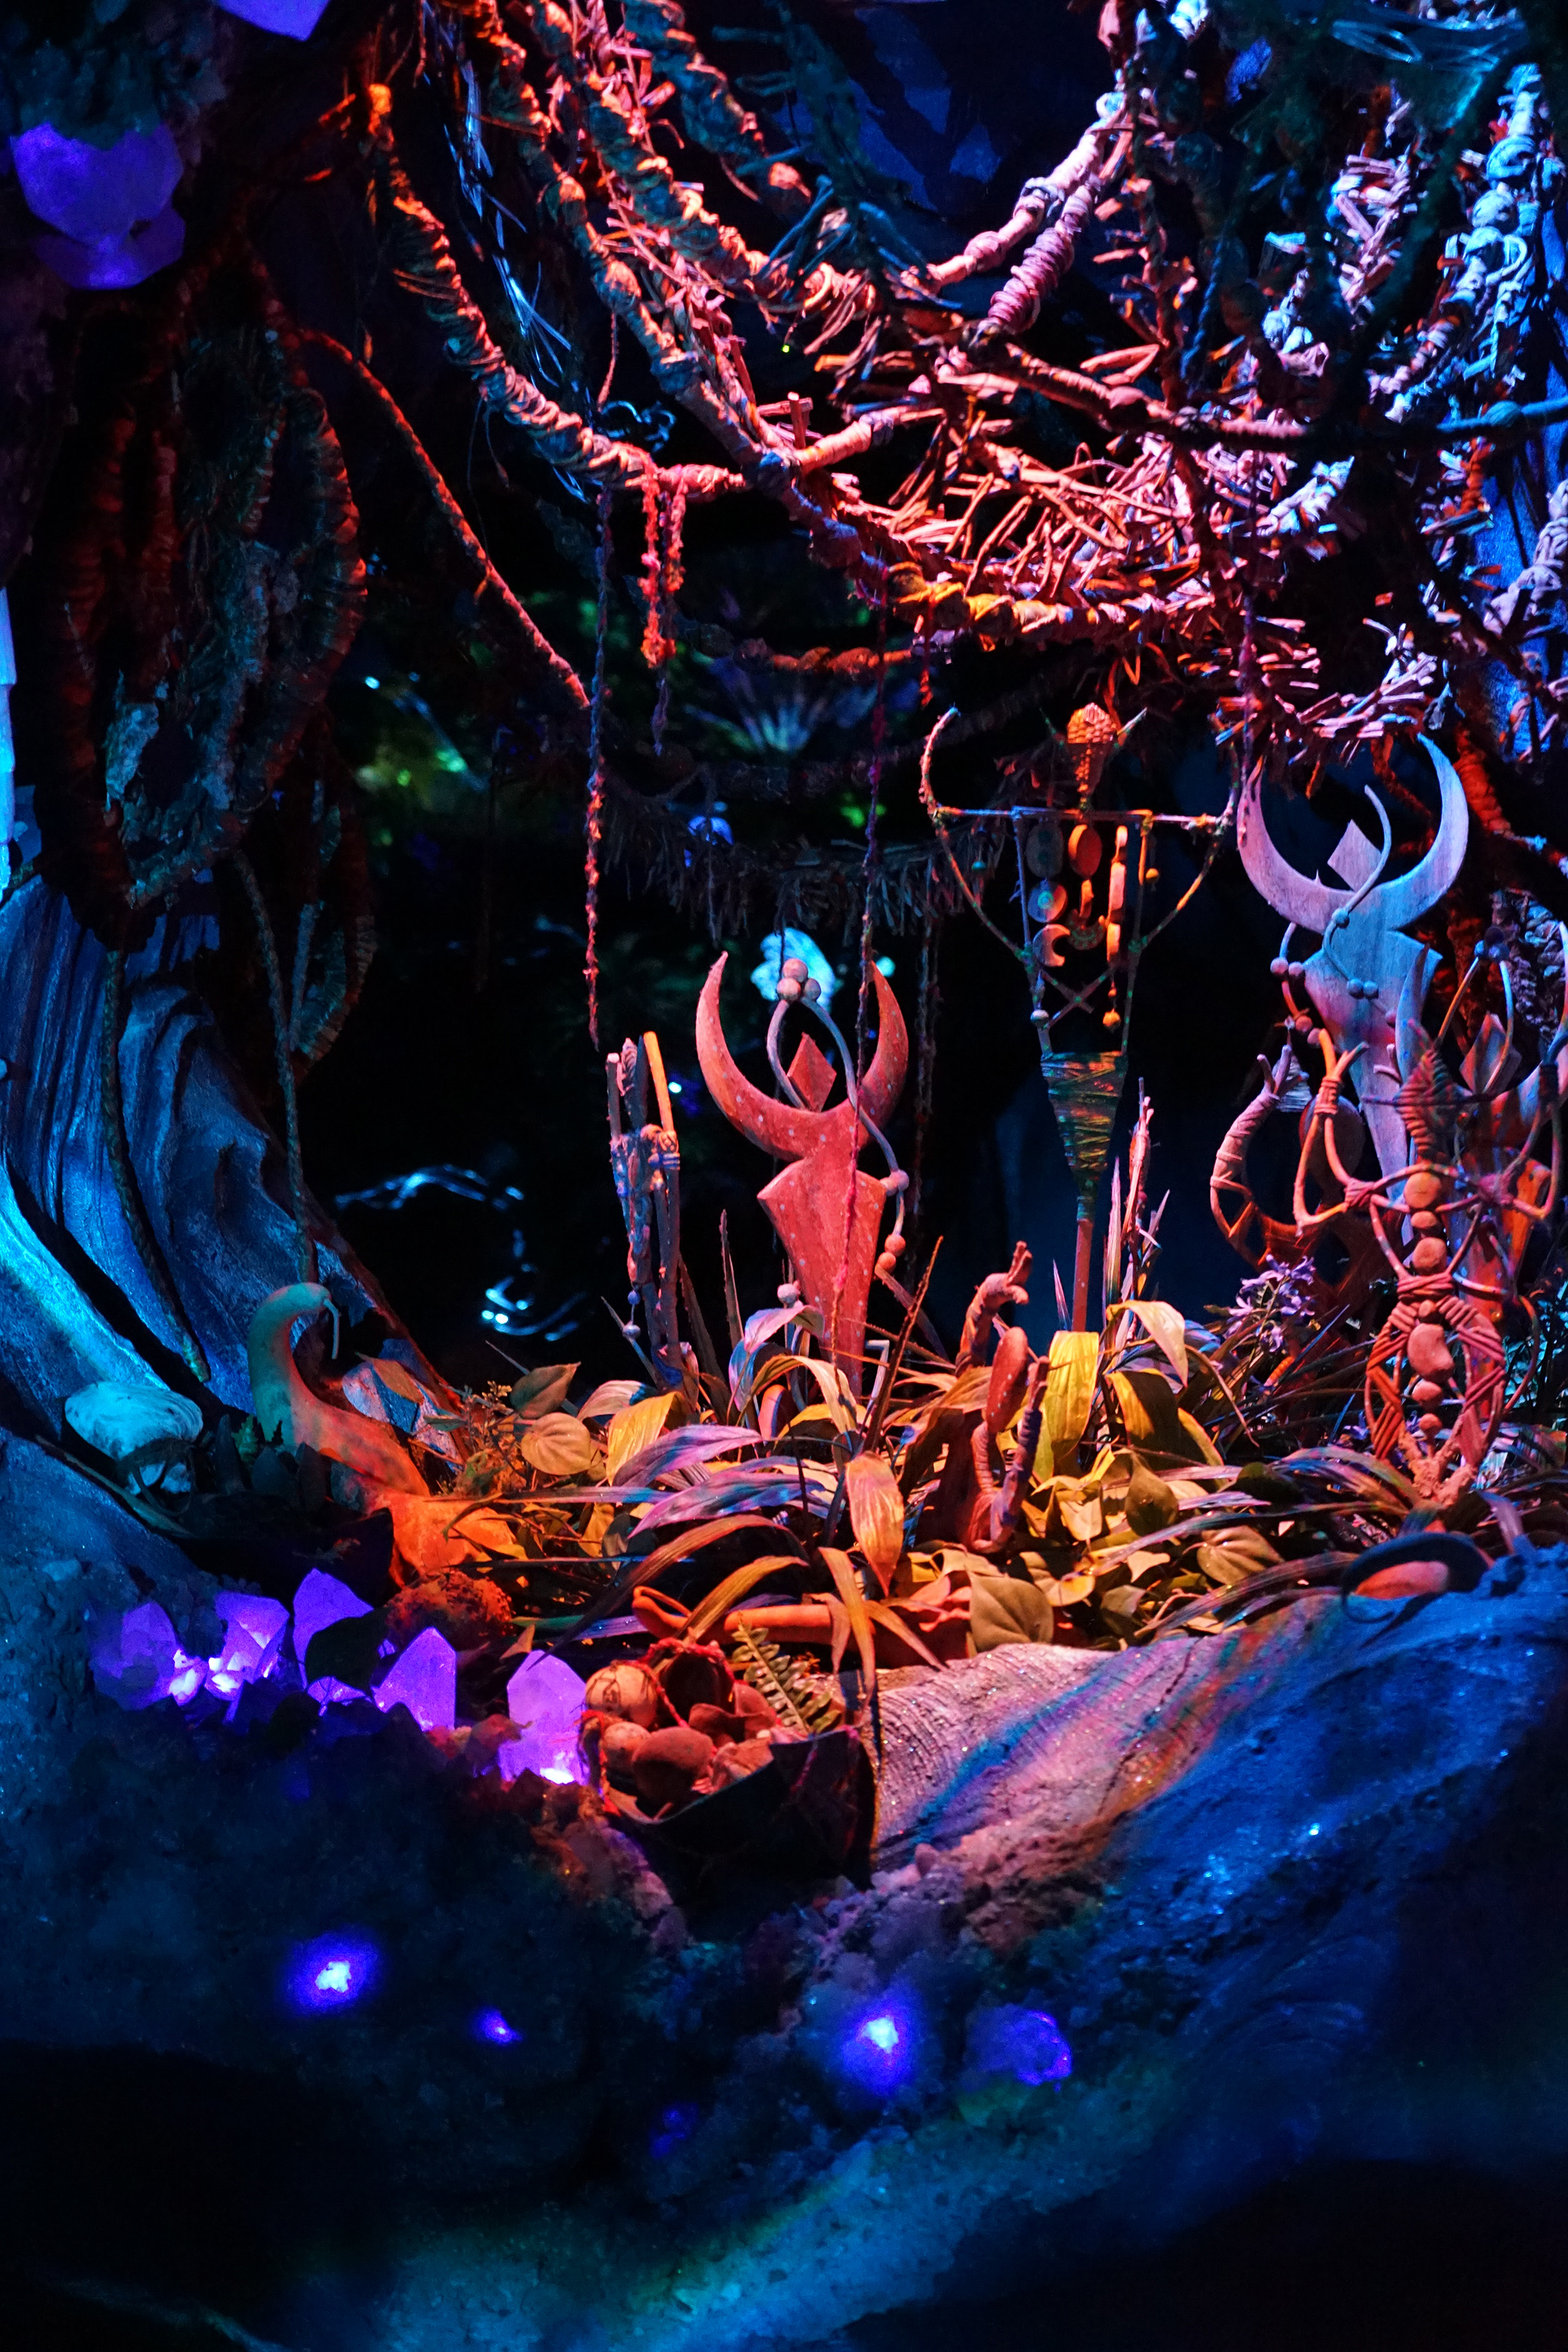
Built for artificial light, neon and all the weird colors that happen after dark.
Best after sunset
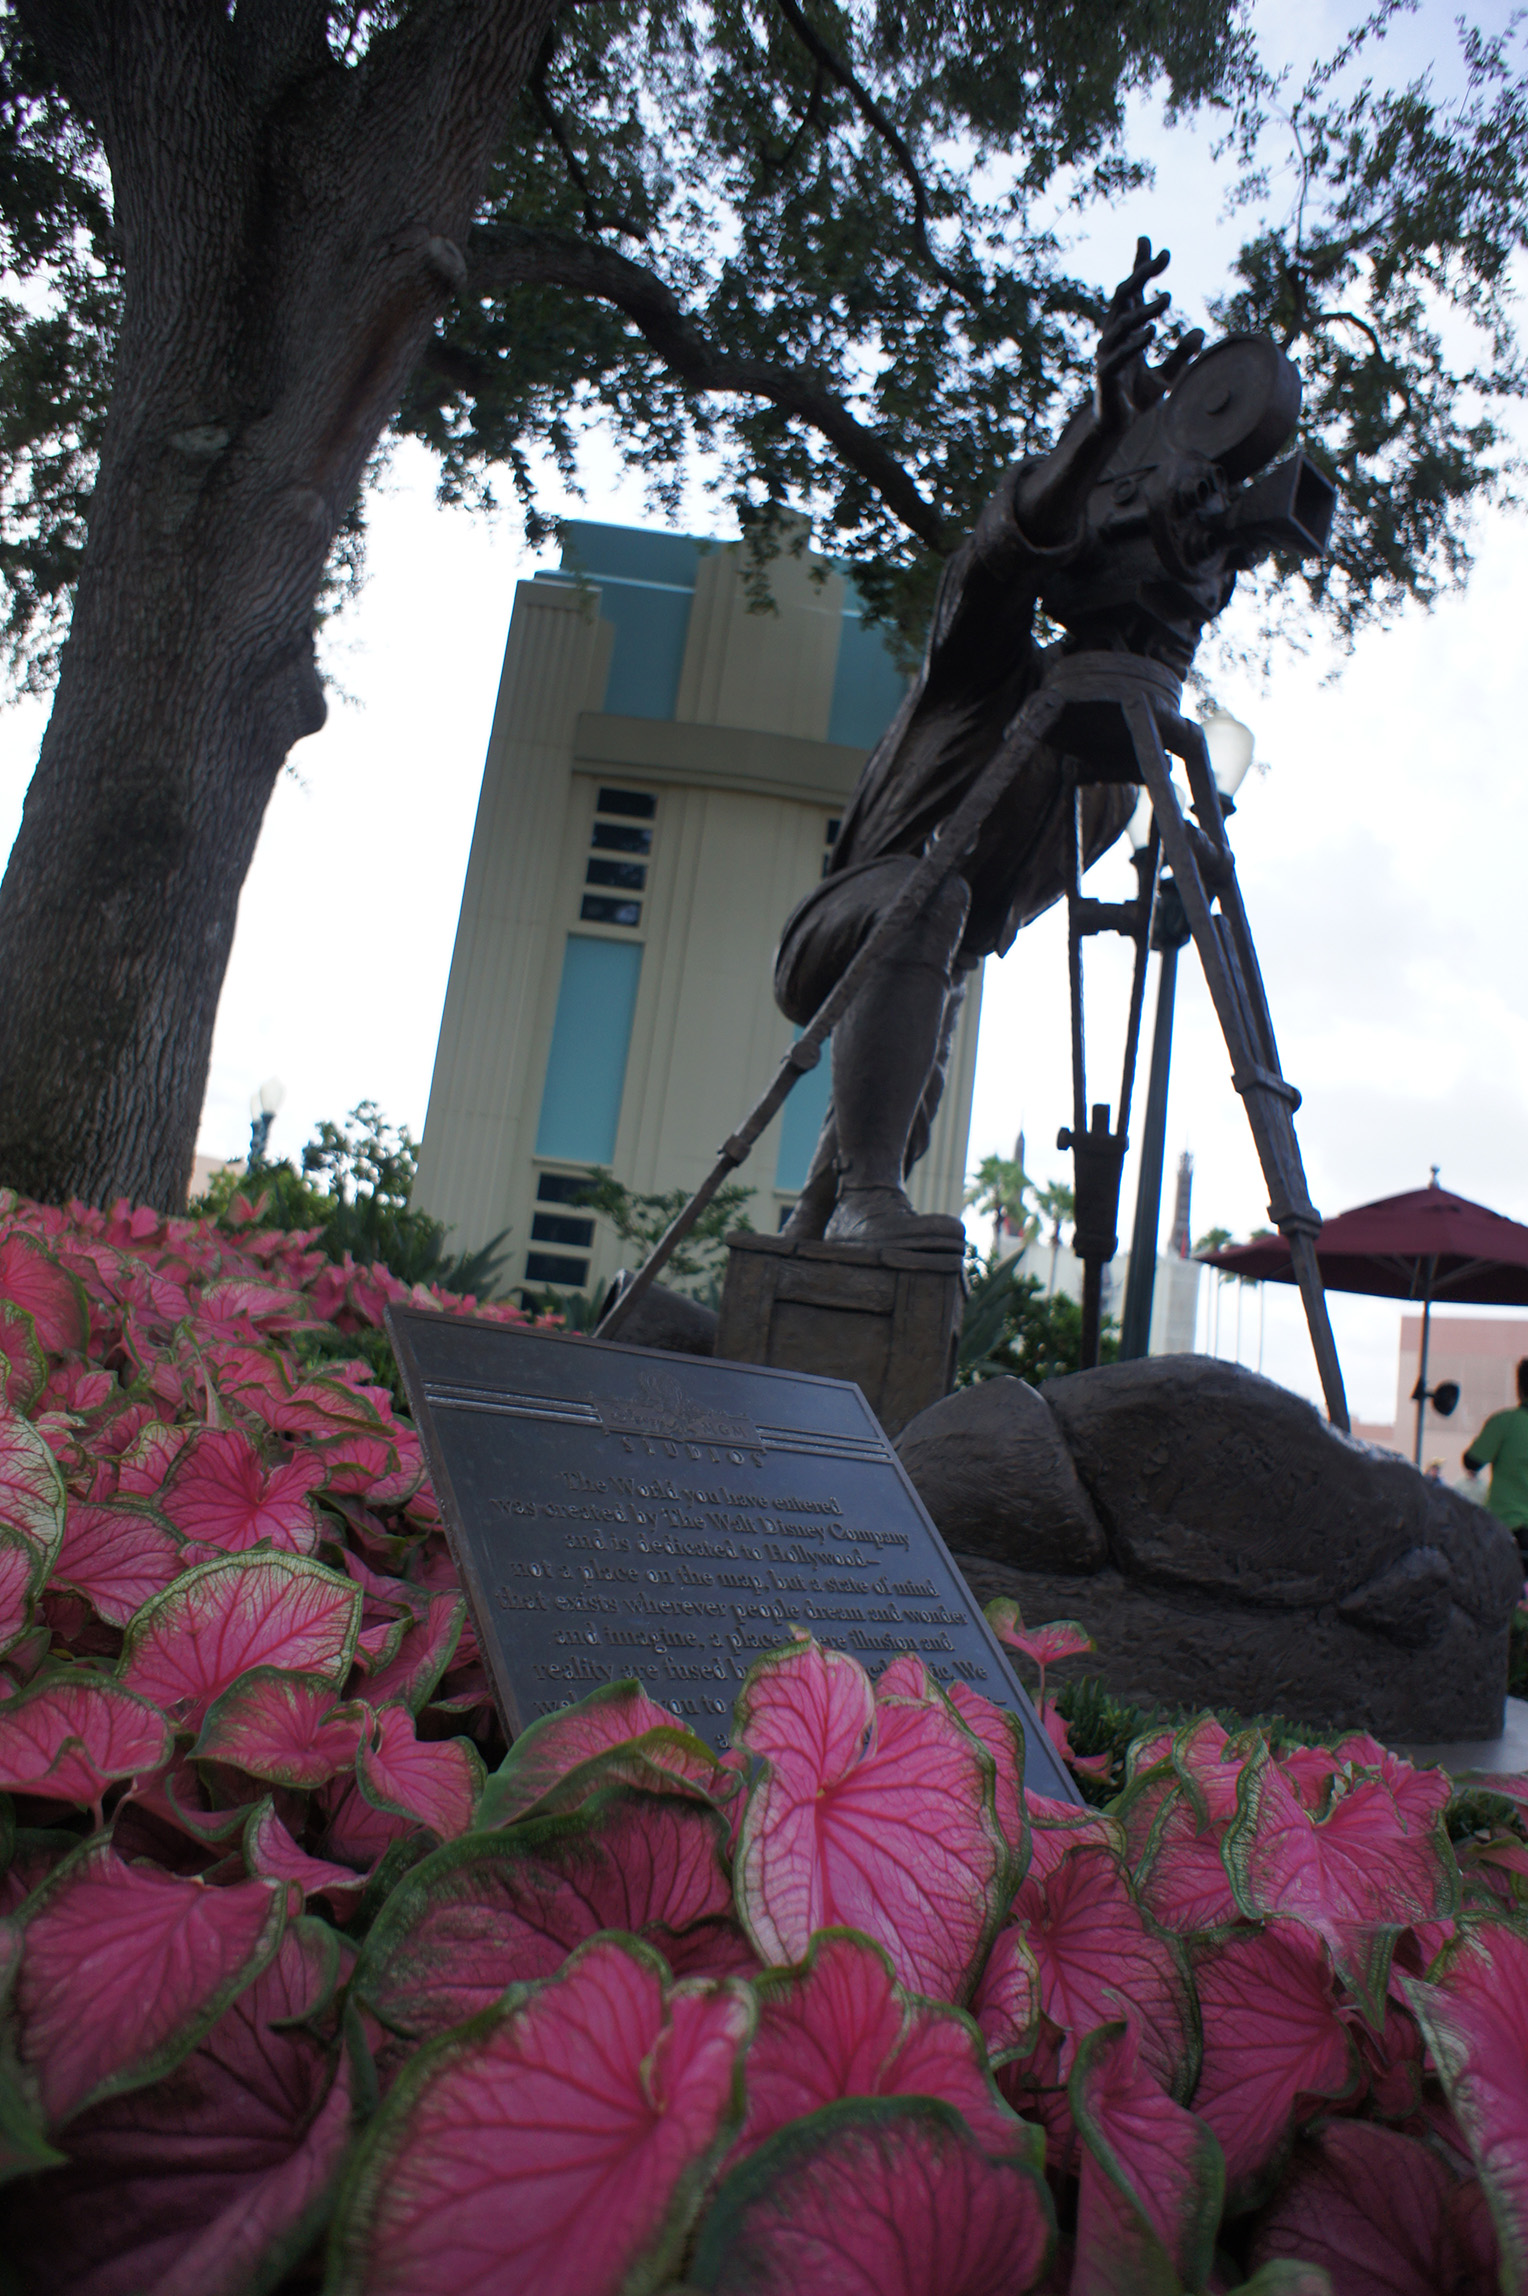
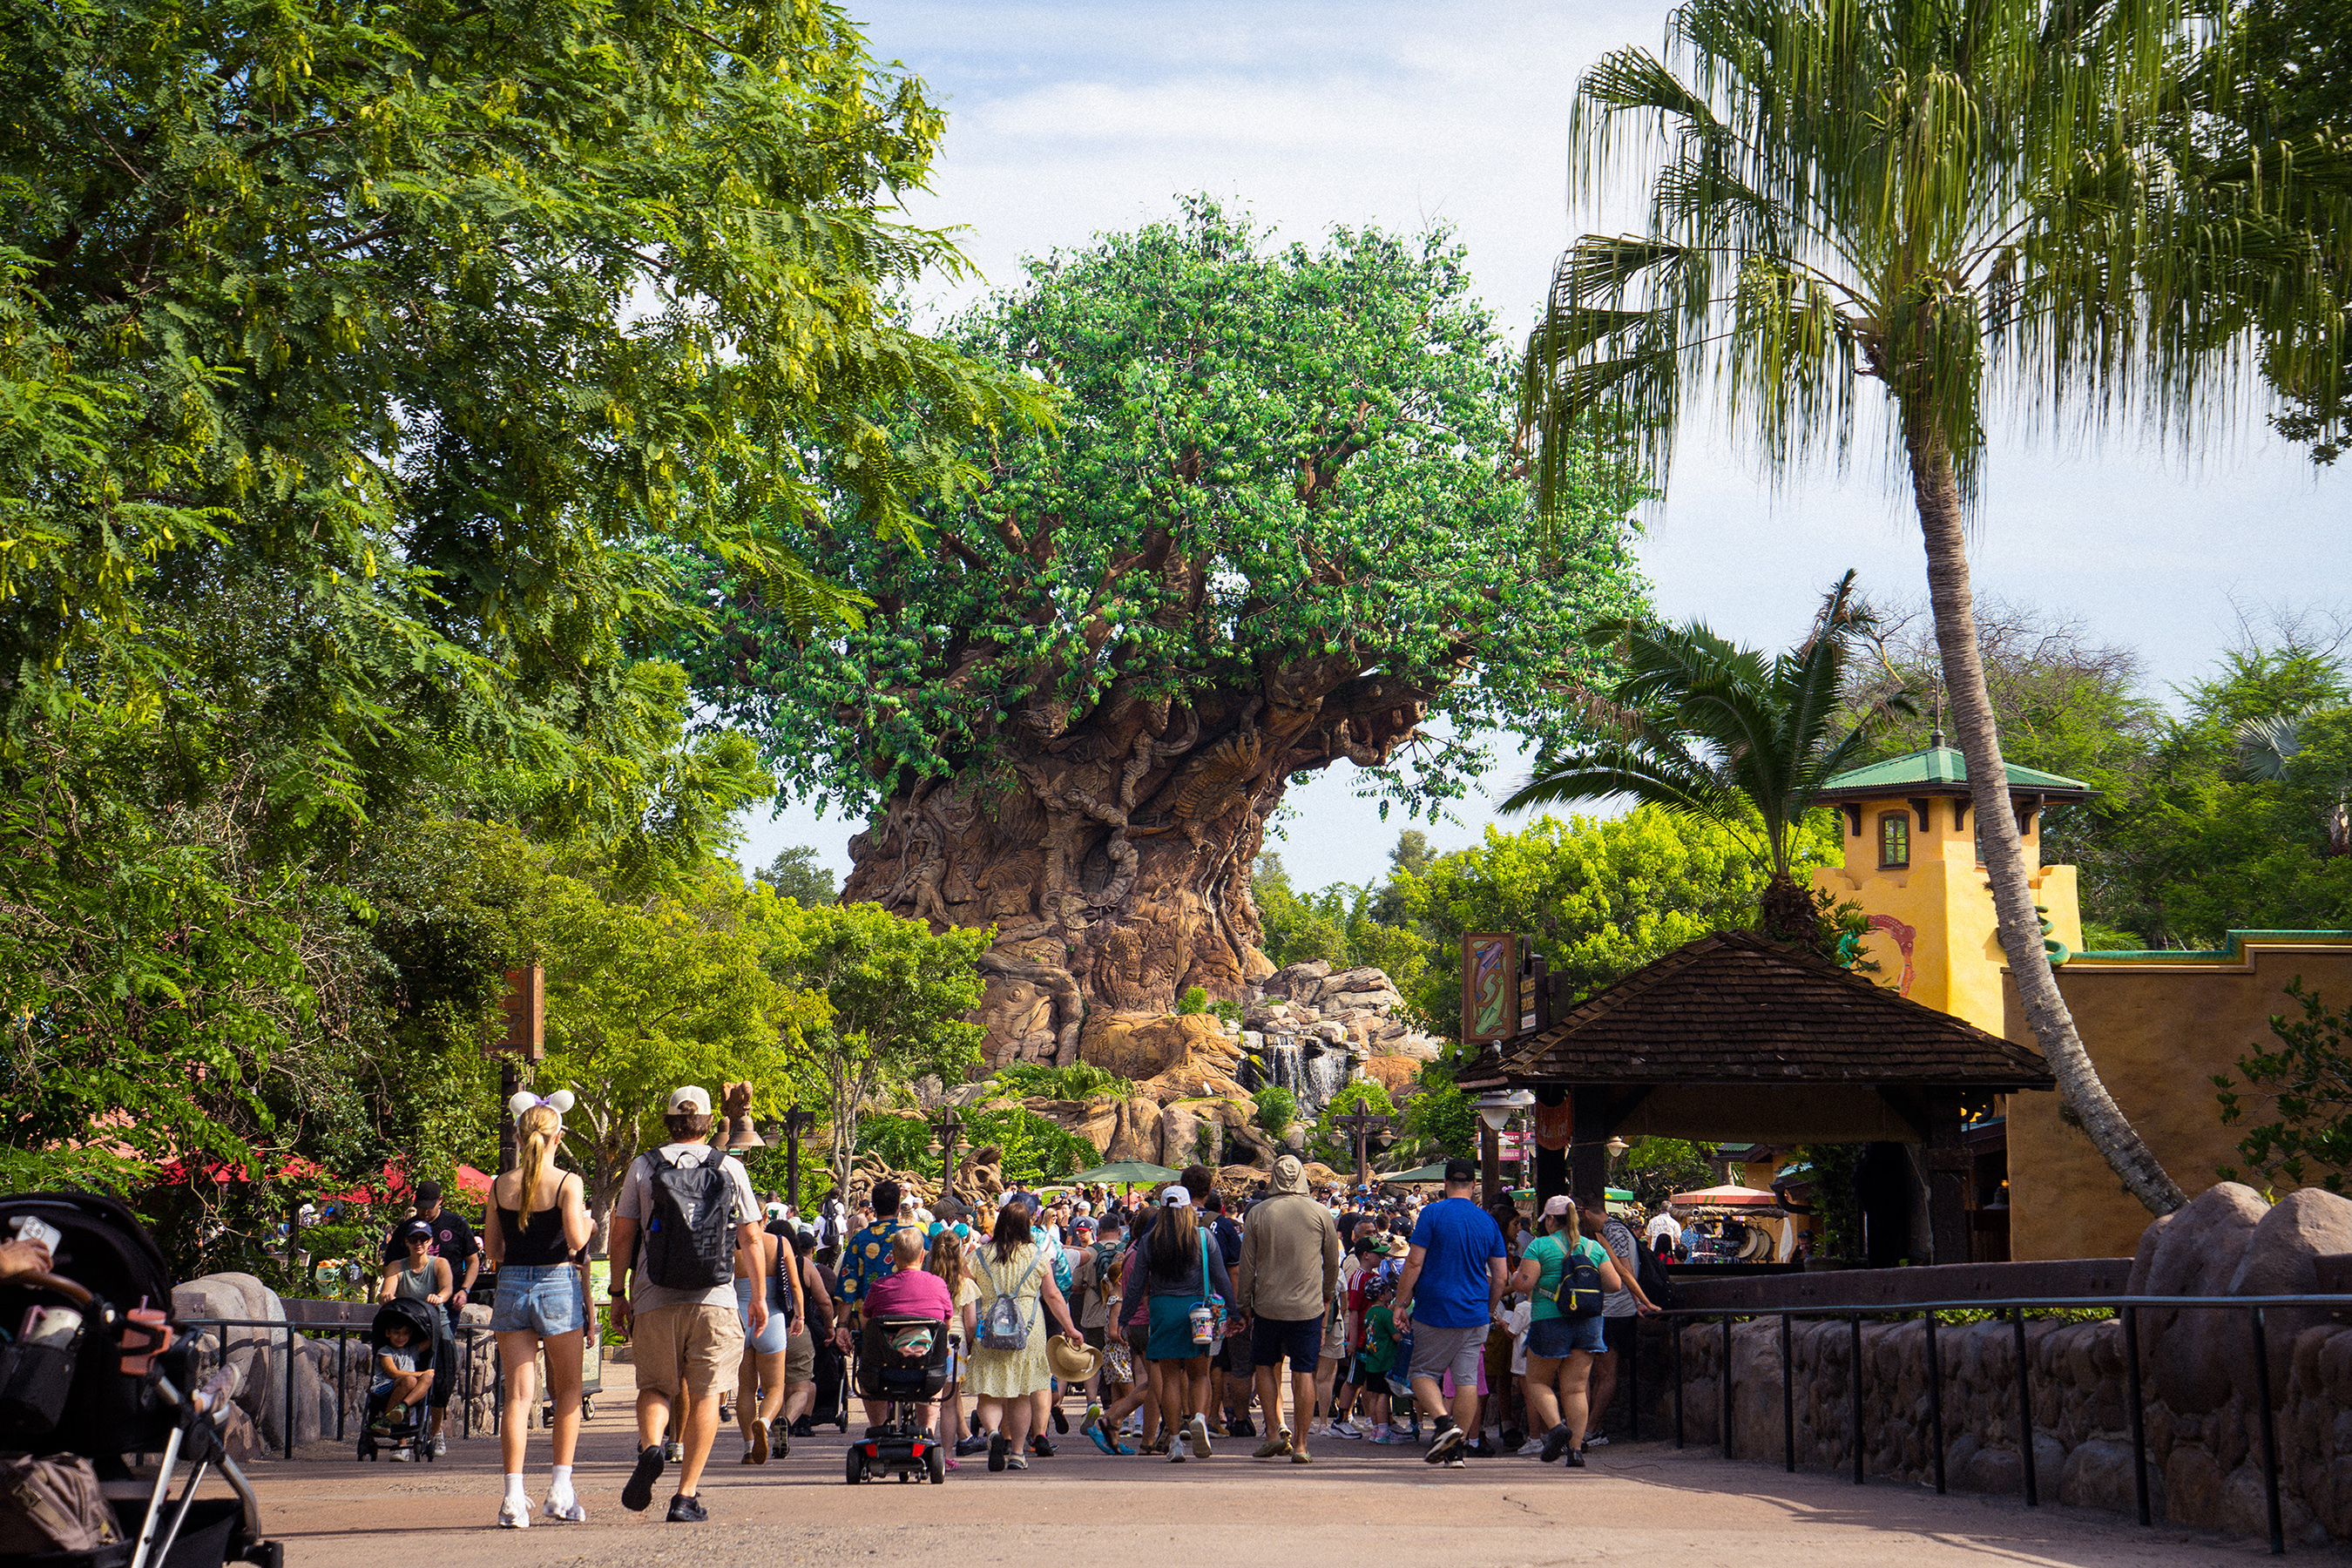
Warm tropical color, dense greens and a little extra life without turning everything orange.
Sun + green things
Before
After
Bright travel color with a little extra warmth and snap for sunlit places.
Travel-ish
Soft, faded, grainy and proudly questionable. The cheap-camera look, on purpose.
It knows what it did
Warm, dusty color with cooler shadows for sun-baked scenes and hard daylight.
Hot + dusty
Some are subtle. A few are not.
Supermarket 110 Film knows what it did.Open Lightroom, go to Presets, click the ••• menu, choose Import Presets, and select the XMP files.
Open the Develop module, click the + next to Presets, choose Import Presets, and select the XMP files.
They should then appear with your other presets.
These are starting points, not commandments.
Exposure, white balance, camera profiles, lighting and the particular weirdness of your camera will affect how they look. Adjust whatever you want after applying them.
Use them on your photos. Change them. Break them. Make something better out of them.
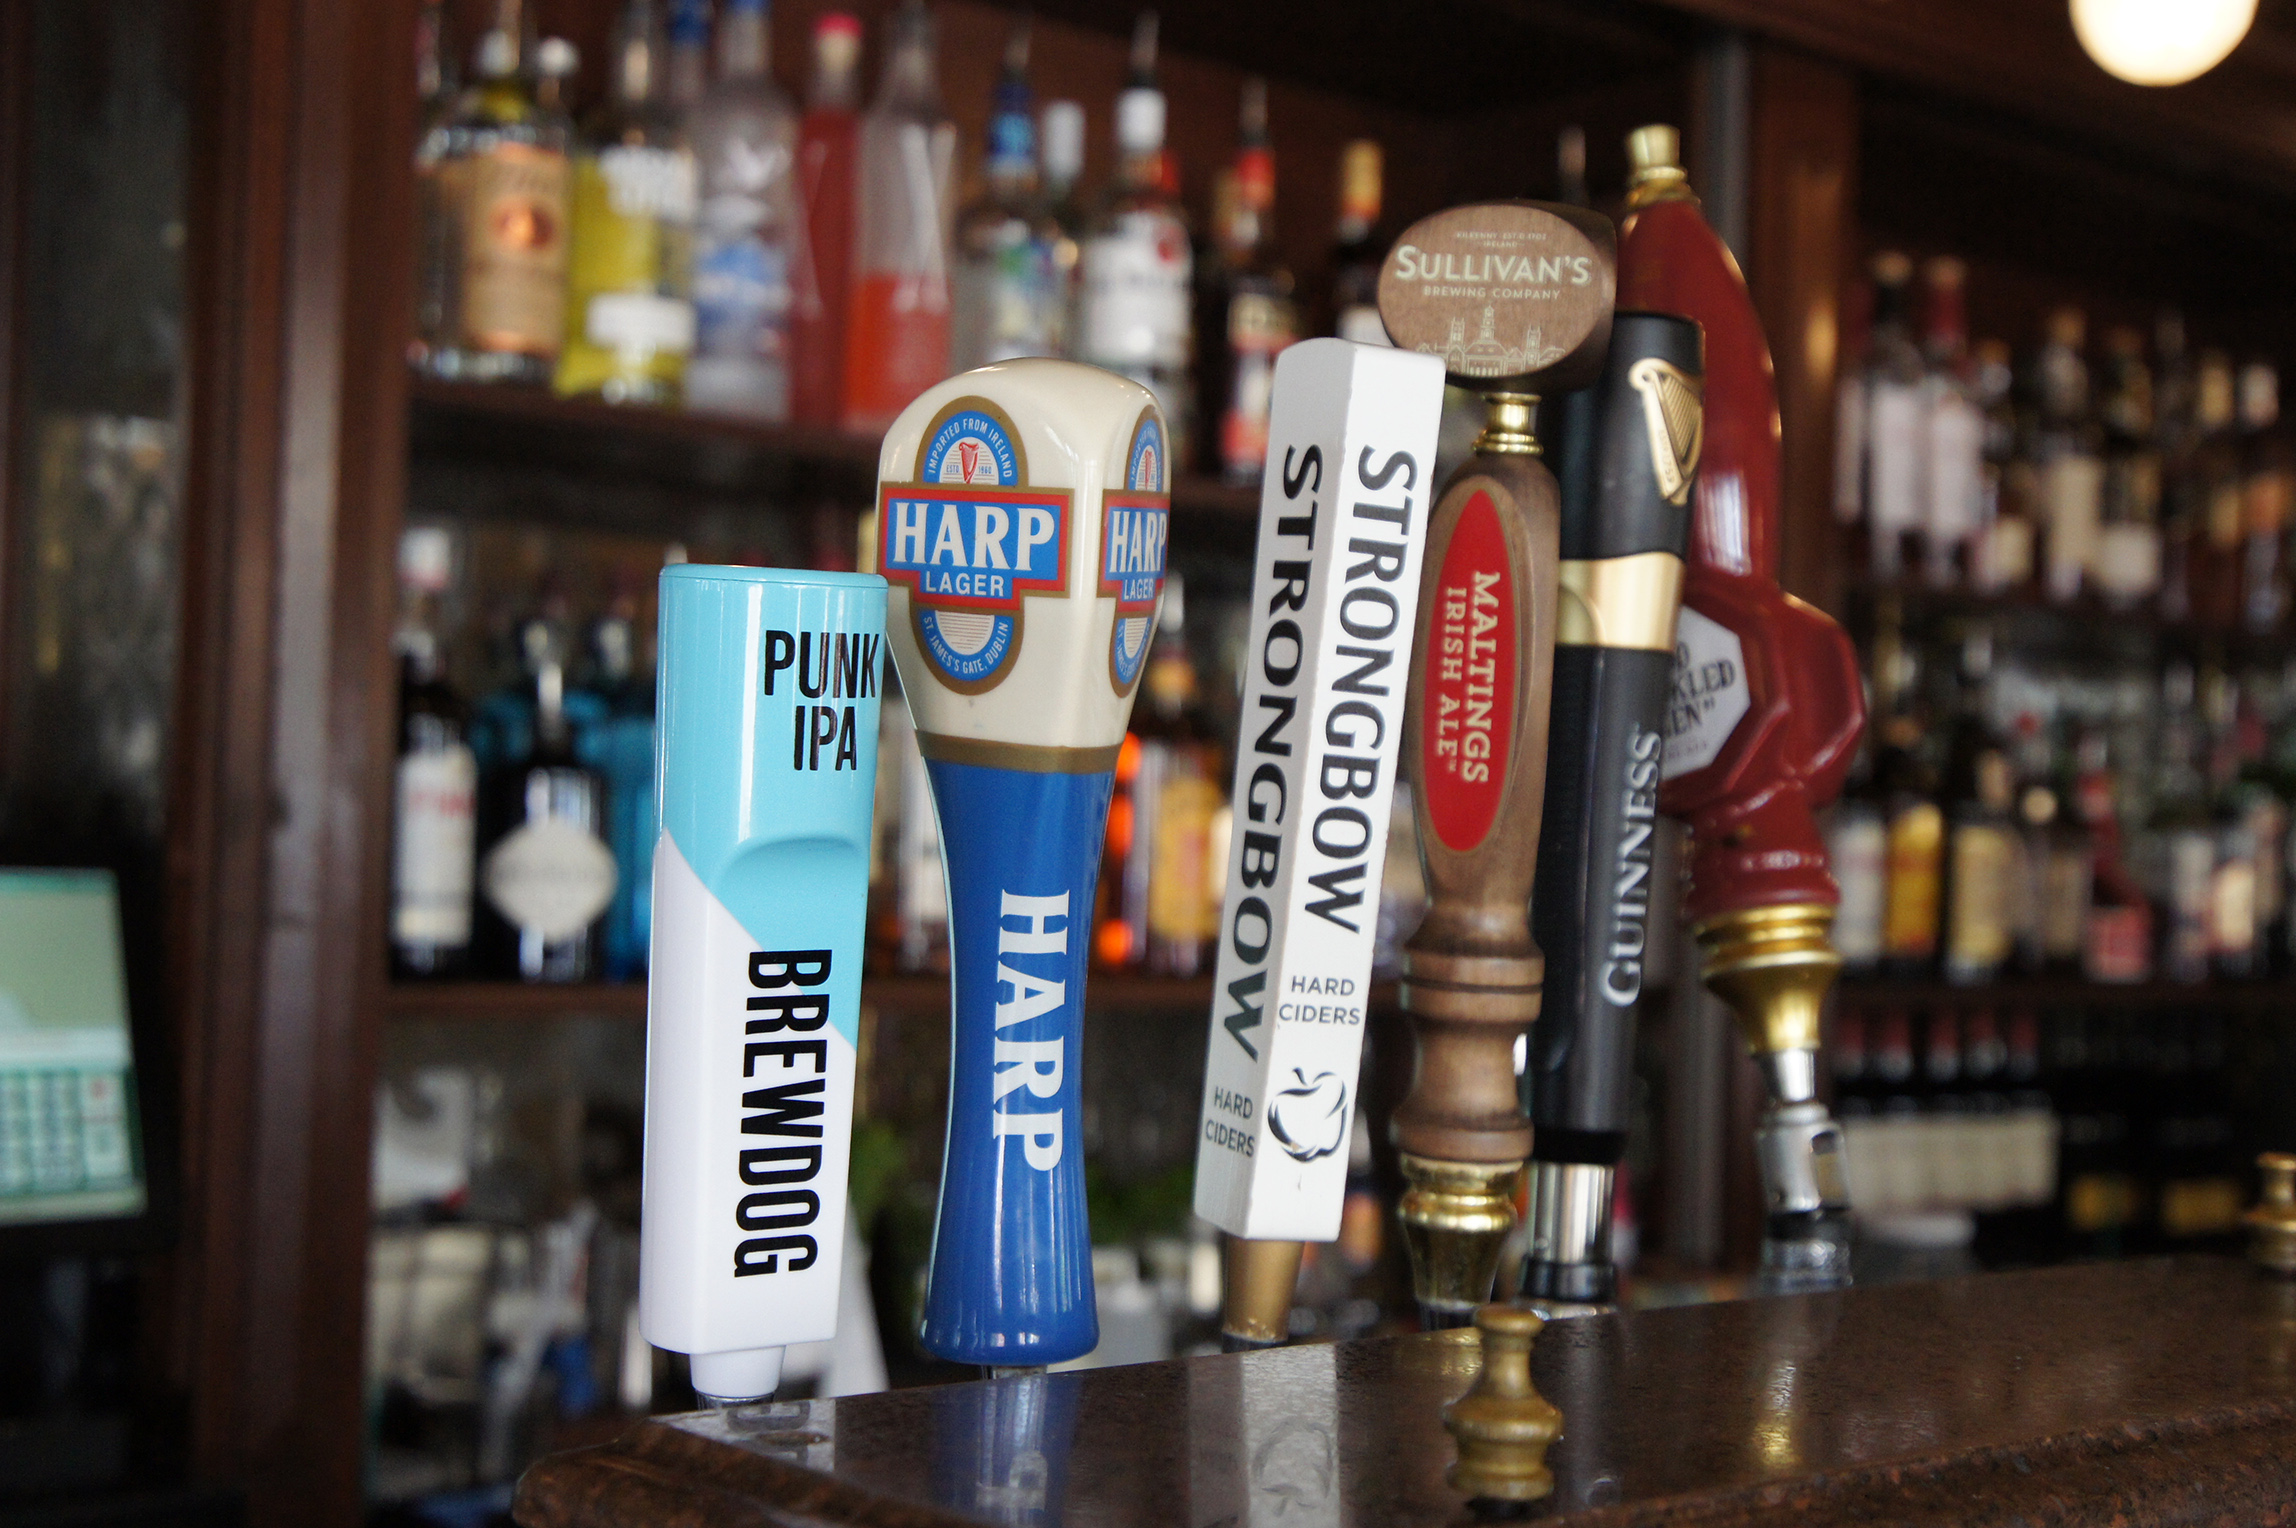
Personal or commercial photography is fine. If they help you make some money, I won’t say no to a beer. Credit or a shout-out is always appreciated, too. Please don’t repackage or sell the preset files themselves as your own.